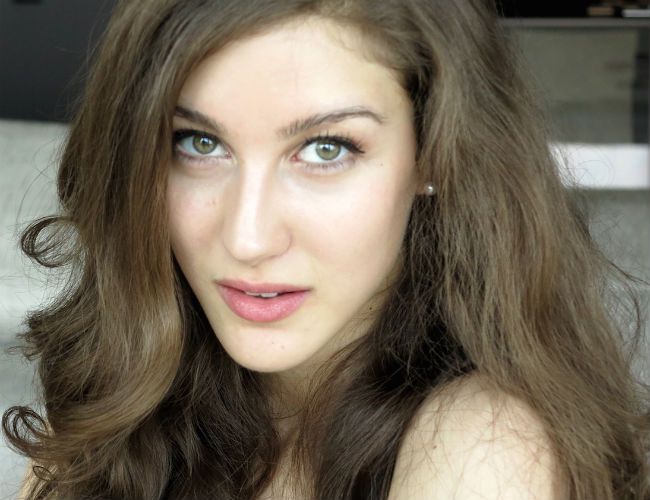
From curly hair to Hollywood Waves with no damage and no heat? Yes, it’s possible!
I have been using this routine for a year now, and I always get amazing results. It allows me to wear my hair without having to restyle it in the morning, and I usually get a whole week from this set. It is a nice and glamorous change, with no hot tool needed. This routine works on literally every texture: it stretches the curls in a new shape (temporary!”>. It is great to diminish tangles and to get more days out of a hairstyle, or just a special occasion. Do you!Tools needed
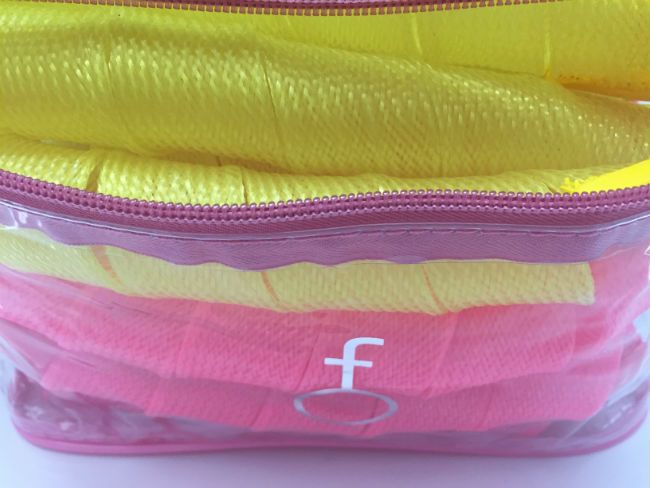
Curlformers or GVP (general value product”> curlformers (I got the GVP because at the time Curlformers did not have the extra wide and extra long I needed for my 20″ hair. I totally fell in love with them (Naptural85 also shares this opinion on her channel”>.
- some clips
- brush (I use the Tangle Teezer“>
- microfiber towel
- optional for the indirect heat option: a hooded dryer or a hood attachment and a dryer.
My favorite styling product combos
- Living Proof Prime & Living Proof Restore Lotion
- SheaMoisture Jamaican Black Castor Oil Styling Lotion (a tiny amount!”>/ Ouidad Mongongo Oil
- Mixed Chicks Straightening Serum
- Design Essentials Mousse
First of all, wash and detangle your hair. I also normally do a deep conditioning treatment, with or without hateful steamer. I prefer using a sulfate free shampoo instead of a co-wash because I like to have super clean hair when I do this set. It gives you more volume and shine.
Wrap your hair in a microfiber towel to take out the excess water. The curlier and the frizzier the hair, the more you want your hair to be wet. So if you have no frizz problem, let them dry till 60%. If you have really frizzy or coily hair, just slightly remove the excess water.
Part your hair down the middle in the back, but create already the side part on top, in the way you want it to be. Clip one side away for the moment. Brush again with the Tangle Teezer to eliminate all the knots and to smooth the hair. The smoother is the hair, the better will be the set.
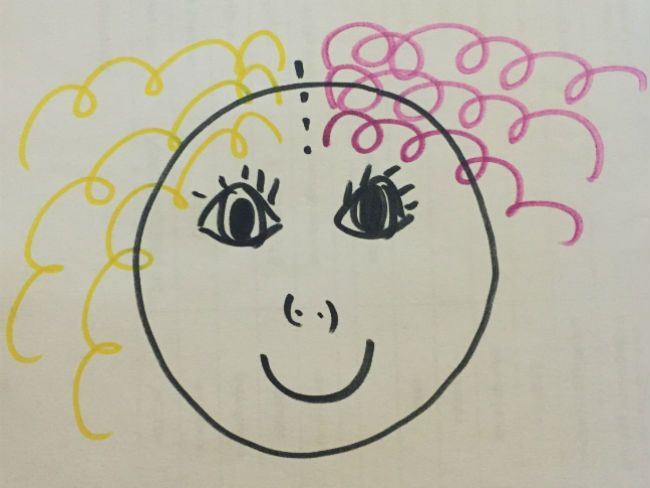
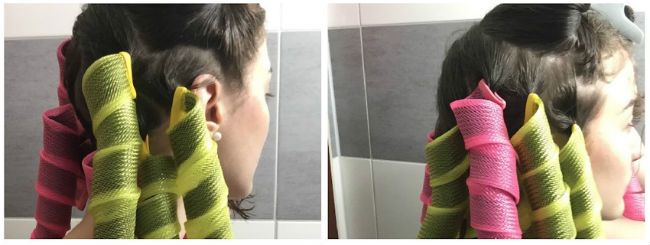
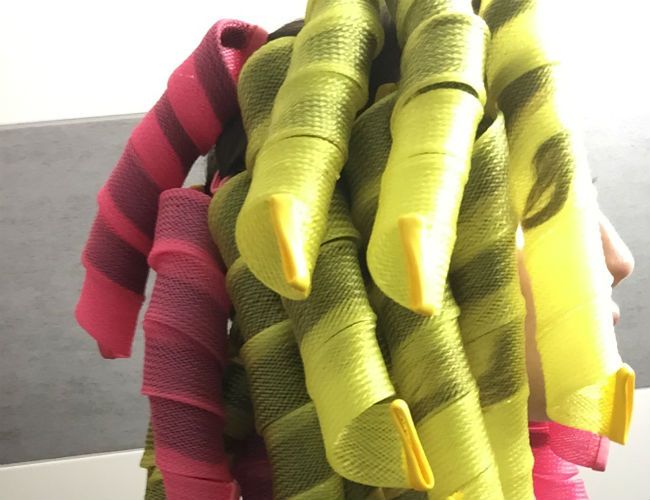
Golden rule: place the curlformers curling away from your face. In my case, my yellow Curlformers turn right, so they go on my right side, the pink Curlformers turn left, so they go to my left side. Yellow right, pink left.
Placement
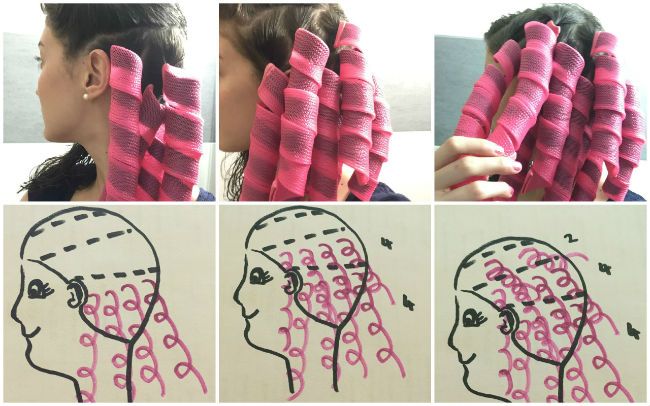
I use 24 curlformers, 12 pink and 12 yellow. This is how I place mine, because I do a side part on the left side. I need more of the yellow curlformers on the right side. If you also do a side part, remember to compensate on the other side with the same amount of curlformers.
If you do a center part, just place all the pink to one side, and all the yellow to the other side.I use 2 more yellow Curlformers in the right side, so I need to compensate and use 2 less on the pink (left”> side. I simply use the 2 pink at the back of my head in my right side.
On the Left side I do 3 sections with 4 curlformers at the bottom, 4 in the middle section, and 2 in the top section. 442=10
On the Right side I use the 2 pink Curlformers with the other yellow Curlformers. I place 4 on the bottom, then 3, then 4, and again 4 in the top section. 4343=14
This is the placement that gives me the best results. You can play around with it, depending on your hair thickness and density. I have fine hair and medium density. With 28 Curlformers you should be able to cover a head of hair with medium density, doing 7 sections of 4 curlformers each.
Application
- Twist the hair away from your face a couple of times. This will help you insert all the hair in the curlformers hook. Drag also the hair down to smooth the roots.
- Insert the hook from behind making sure all the hair is in it.
- Place your thumb over the hub and push the hair up. Doing this will prevent the hair from escaping the hook.
- Cover the opening of the hook with the Curlformer so that the hair won’t escape while pulling the hook down and out.
- Gently pull the hook down.
Now you can air dry or use some indirect heat to speed up the process.
Watch my full tutorial
Take down
- Remove the curlformers simply pushing the rubberized part on the top and sliding the Curlformer down. It helps if you stretch it out.
- You have two options: rocking the tight ringlet curls look, or fluffing them into glamorous waves. If you wanna keep it curly, just divide the individual curls until you are happy with the result. A little oil or serum will calm the frizz. To rock the glamorous waves you just need to brush out the curls gently with a wide tooth comb (I know it seems scary but trust me on this”> and then stretch the pattern. To do so you can wrap your hair around your head (Learn to do it my No Heat video“> put it in a bun for half an hour.
Use some hair serum to tame flyaways… and you are gorgeously done!

