Search Results: Whitney Garcia-Devers

The day before my washing routine I prepare my hair for washing. Sometimes I skip this step process because of my busy lifestyle. However, I have faced the consequence of not following this process, unmanageability of my curls.
What I Use
-
My fingers or Denman Brush
-
Four hair clips or hair ties
-
Olive oil
-
Black castor oil
-
Rosemary oil
-
Mint oil
Step 1. Prepare the oil mix
It’s always tricky to estimate how much oil someone will need. In my case, I prepare a mixture which lasts roughly for a month. I use a 10ml bottle to store this mixture. Here are the proportions:
- 2.5 ml black castor oil
- 3 ml olive oil
- 2.5 ml rosemary oil
- 2 ml mint oil
This mixture promotes my hair growth while making my hair feel thicker. Side note: in March 2015, the hairdresser thinned my hair out. Because of this, I regained the thickness (Thank God”>. Besides, your hair will become shiny and strong.
Step 2. Prepare hair for washing
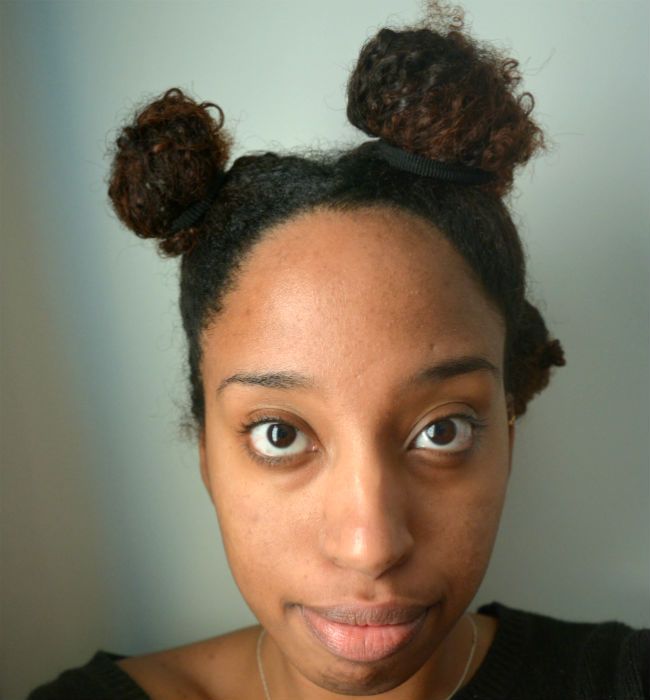
I start the process of preparing your curls for the washing process the night before. First, I section my hair in four sections. Remember to keep the sections separated by tying them up with hair clips/ties, as shown in my picture.
Step 3. Finger detangle my hair
Apply the oil mixture to the hair and finger detangle the hair, starting from the ends all the way up to the roots. If you have many knots in your hair, I suggest using a Denman brush in order to facilitate this process.
After detangling all sections, I pull my hair up in four buns. Now my hair is completely detangled and ready for the washing process.
The Advantages
-
Less breakage
-
Oil mixture nourishes the hair
-
Increased manageability
The Disadvantages
-
Time investment required
-
Oils might be expensive depending on home country
How do you prepare your curly hair for washing?
Before starting this popular hairstyle, remember that the best results would be achieved on hair that is healthy. No hairstyle tutorial will be successful if you neglect your hair health!
I highly recommend eating enough vegetables and two fruits a day. Not to forget, it is essential to drink enough water. A healthy lifestyle is not the only contributing factor to healthy hair. The right hair care products will enable your hairstyle to last forever, while keeping your hair moisturized. A porosity test and this awesome chart will give you some guidance.
For the my Type 3c twist-out routine you will need the following tools and products.
Is your hair Type 3c?
Type 3c curls typically have the circumference of a pencil or a straw. If you don’t know your curl pattern yet, this quick guide can help. And if you have 3c hair that looks different to mine, don’t worry, this might be why.
Tools & Products
-
Spray bottle filled with solely water
-
4 hair clips
-
Leave-in conditioner – I like Natural Almond & Avocado Detangling Leave-in conditioner by Design Essentials
-
Curl defining product – I use CurlForming Custard by Design Essentials
My technique
1. I divide my hair into four sections.
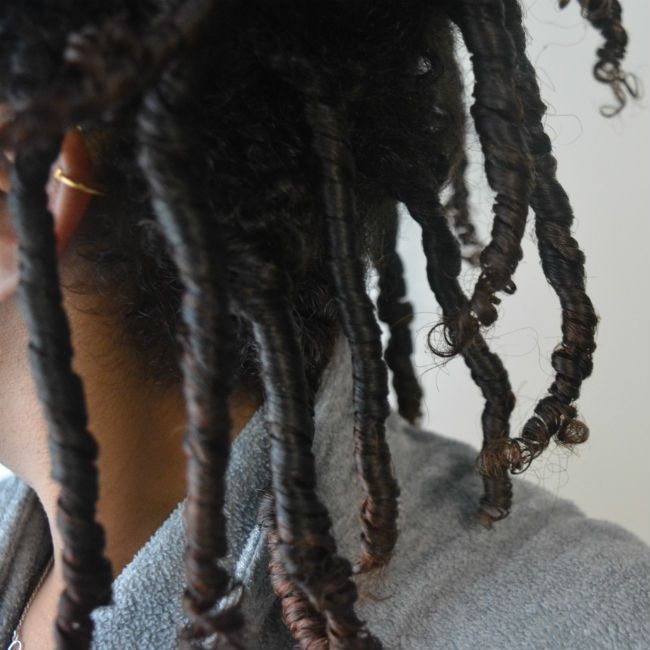
I do not moisturize my hair, because I feel that wetting the hair results in less volume. One section will be divided in a smaller section. Smaller sections result in defined curls, whereas the effect of larger sections is looser curls. I really enjoy having defined curls, so I divide my hair in small to medium sections that you can see in the photos.
2. Grab your spray bottle and dampen the hair section.
3. Apply your preferred leave-in conditioner and brush the section with a Denman Brush.
Remember to start at the ends and carefully brush towards the roots. This will prevent breakage.
4. Apply your favorite curl defining product and brush the section with the Denman Brush.
You will notice that your curls are highly defined when wet, the key will be to keep this definition as it dries.
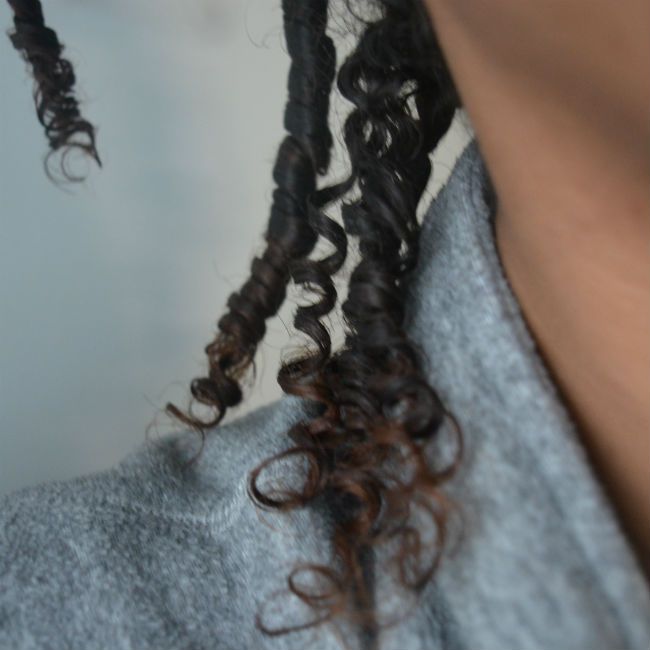
5. Divide the section in two smaller sections and create two finger coils. Twist the coils and seal the ends with a bit of curl definer.
6. Once the hair is completely dry, separate the twists.
When separating the twist, I carefully pull the twist down until I see two ‘curls’ appearing. I carefully separate these. For more volume, I continue separating the twists until you achieve your desired volume.
Making the style last
Maintaining the hairstyle is easy; in the evening I’ll pull my hair up in a pineapple bun. Sleeping on a satin pillowcase helps prevent frizzy hair. If you do not owe a satin pillowcase, wrap a satin scarf around the area around the pineapple tail. The next morning, I’ll take the hair tie out of the bun and shake my hair and go!
I recently used this twist-out technique on 7th day hair and the results astonished me. The outcome of the twist-out resembled a fresh wash-and-go!
What does your flawless twist-out look like?
Follow me @WhitneyFromTheBlog for more curly hair advice!


