Sandra Archives | Page 2 of 2 | Beautycon.com

Search Results: Sandra

The Drying Technique That Gives My Curls More Volume

You’d like your curls to be more voluminous? Slightly adapting your drying routine might do the trick! Since I absolutely love voluminous curls, many steps of my usual washing routine aim at getting well defined but still voluminous curls. This is why I do all the following: getting them cut in lots of layers, plopping, getting rid of excess moisture or clipping my roots. If you think achieving voluminous frizz-free curls is impossible I’ve got good news heading your way: it is possible! This is how I get my curls to be this voluminous but still frizz-free:

Blow-dry your curls!

In order to get more voluminous curls I recommend you to blow-dry your curls instead of letting them air dry. Changing your drying routine from air- to blow-drying can already get you a lot more volume! The following two pictures show the difference in volume when my curls still were a bit longer.

My curls after blow-drying them:

My curls after letting them air-dry:

I was quite surprised to see how big of a difference it is as I usually never let my curls air-dry (read the whole article I did on this on my blog“>.

Blow-dry your curls until they’re 100% dry:

Many curlies will never ever blow-dry their curls until they’re 100% dry, because we’re afraid of them getting dried out and thus frizzy. I didn’t dare to do this until very recently and I’m so happy I’ve tried it! This way I get my curls to be even more voluminous than when I just blow-dried them until they were 80-90% dry. I am well aware that some of you might completely disagree with me on that, but my experience has taught me it’s actually a good thing to completely blow-dry my curls, but see for yourselves–can you guess which picture I took after blow-drying my curls until they were 100% dry?

Did you see the difference? I took the first picture after only blow-drying until 80-90% dry and the second picture was taken another time after blow-drying my curls until 100% dry. I took both pictures within the same week, but it’s funny how my curls look shorter in the second picture… They’re not at all frizzier than when I blow-dried them until they were only about 80-90% dry. After completely blow-drying them they are not only curlier, but also more voluminous.

Keep your curls moisturized

If you’re now thinking about trying to blow-dry your curls until they’re 100% dry, please keep in mind to make sure your curls are well moisturized. This way they’ll stay well defined and frizz-free. I suggest you to use a slightly heavier conditioner than usual. In case this weights your curls down too much, try to just leave in a bit more than usual (especially the ends’ need enough moisture”>.

If using more conditioner isn’t working for you or if your curls are still being too frizzy after blow-drying, I recommend you to use a gel leaving you with a gel cast. The gel cast helps preserving your clumps and prevents your curls from getting too frizzy. But don’t forget to scrunch out the crunch after blow-drying.

You can still clip your roots

Clipping your roots while your curls are still at least a bit damp has the best effect on your root volume. So when you are blow-drying your curls until they’re 100% dry it’s best to take a short break from blow-drying to clip your roots when you curls are about 80-90% dry. Continue blow-drying right after you’ve put the clips into your curls and then finish blow-drying your curls with the clips in them. Don’t use any metal clips if you’re leaving them in while blow-drying as they might burn your scalp when heating up. That’s why I always use normal bobby pins to clip my roots!

So why not blow-dry your curls a little longer the next time? I would love to hear if blow-drying your curls until they are completely dry worked for you– please leave a comment! To read more of my curly hair journey, visit my blog or follow me on Instagram

How to Do a Waterfall Braid on Curly Hair

Waterfall braids can be seen everywhere and seem to be a big trend lately, but unfortunately most of the examples on Pinterest and YouTube appear to be completed on straight or wavy hair. Which is too bad, because for me braids and curls are a perfect match. Moreover, braiding curly hair is a lot easier than braiding straight hair because it tends to hold a braid more easily. The only thing you need to pay attention to is not to pull on your curls too much while braiding.

Keep in mind that braids in naturally curly hair don’t need to be perfectly neat and can be a bit messy. It’s more important to try not to separate your clumps as separating them will cause some frizz. So when you’re adding more curls to your braid, add whole clumps whenever possible.

What you’ll need:

  • 2 bobby pins

That’s it! Have you ever seen a tutorial with so few supplies?

How to waterfall braid:

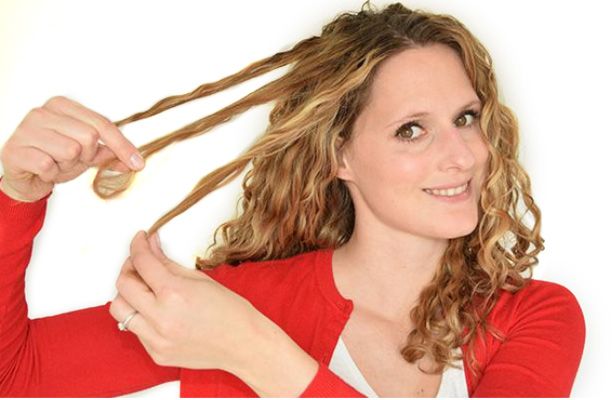
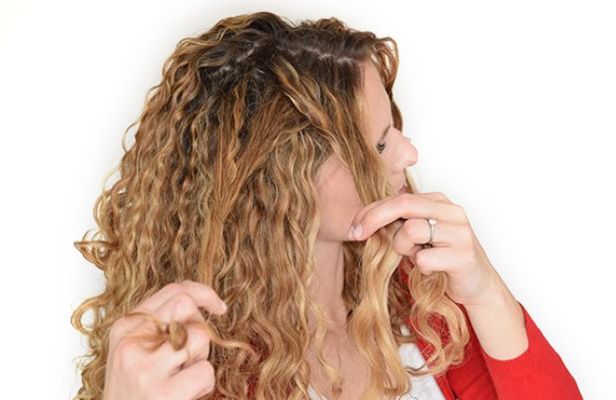
1. Take a small section from your preferred side of the part line (most people with a side-part like to take the section from the side with more hair”>. Neither your part line, nor the section you take need to be in a perfectly straight line (a privilege of having curly hair!”>.

2. Split the section into three equally smaller sections.

3. The beginning of a waterfall braid is just like the one of a normal braid: start braiding by crossing the back section across the middle one.

4. Continue by crossing the front section across the middle one.

5. Add a little bit of hair to the back section before you put it across the middle section. Grab the additional hair from right next to your part line.

6. Instead of crossing the front section across the middle one, let go of the front section. This is how the “waterfall-effect” is created.

7. As you still need three strands to braid, grab new hair from right below the front section you’ve just let go of. Make sure to take about the same amount of hair that was previously in the front section and then cross the new front section across the middle one.

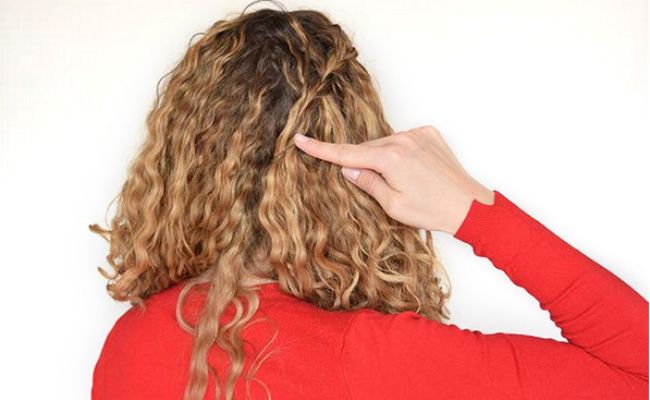
8. Repeat steps 5. -7. as often as you like to. I usually stop when the braid reaches the back of my head (at this point it’s also getting difficult to braid, because you have to rearrange your hands while braiding”>. My last step before finishing the braid is step 7.: letting go of the front braid.

9. Hold on to the other two sections and fix them with two bobby pins. Depending on how thick your waterfall braid is, you might need more bobby pins. To later hide the bobby pins in your curls, pull all of your curls apart right where you need to fix the braid’s end.

10. To hide the bobby pins, put your curls back to where they naturally fall and you are done!

I usually braid only one side, but of course you can also do a second waterfall braid on the other side of your part line, which is what I did in my YouTube video.

Watch the video

To read more of my curly hair journey, visit my blog or follow me on Instagram.

      • 1
      • 2