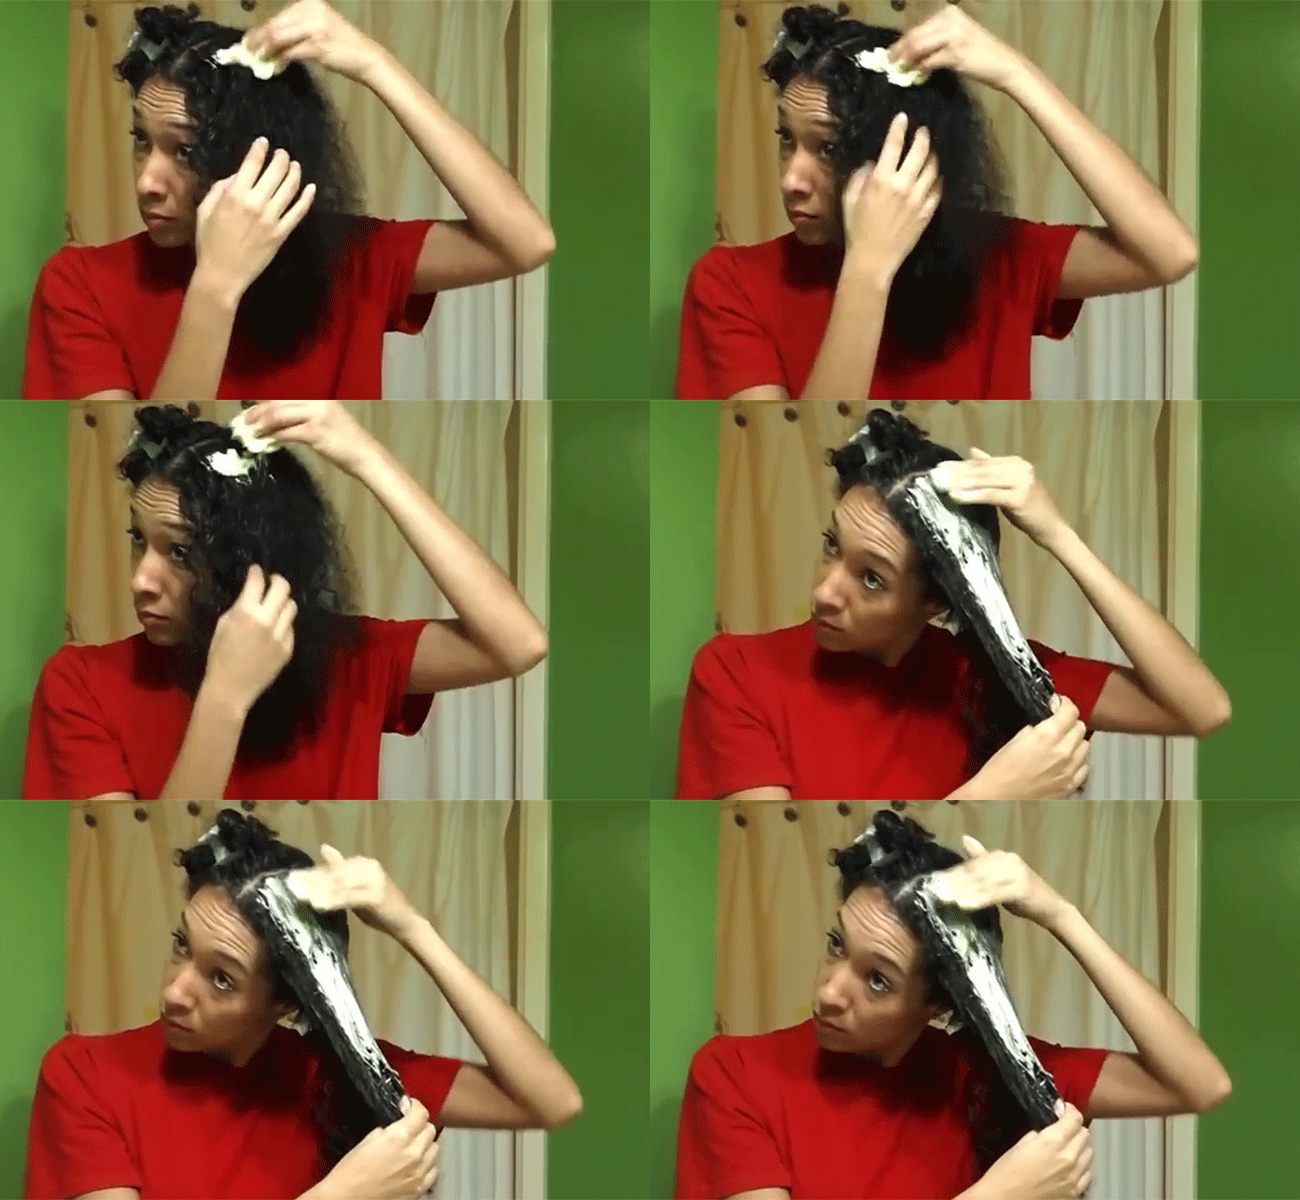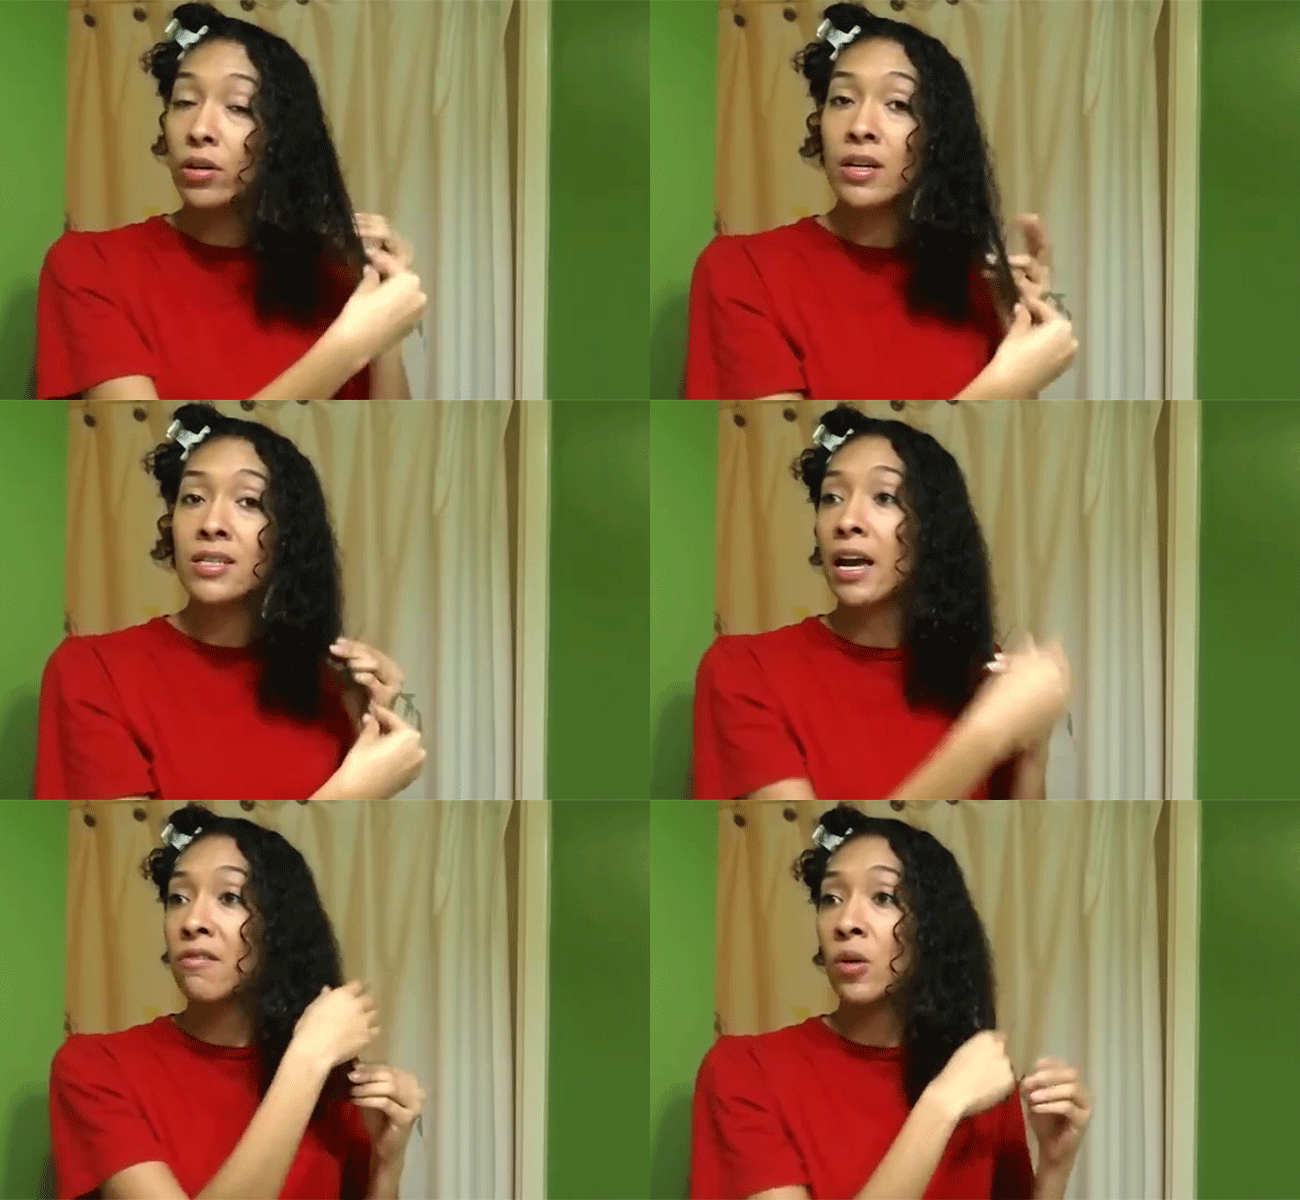
In the naturally curly community, there are several DIY hair masks you’ve heard of floating around the internet–from deep conditioners to protein treatments to moisture masks. Do you know the proper way to apply these at home treatments to get the best results on your curls? Follow along!
1. Ensure that your hair is clean!
Most DIY treatments work best when applied on clean hair. Why? You won’t have to deal with any product build-up–your strands will be free of any previous products applied, therefore allowing your curls to absorb the nutrients as much as possible. You can choose to either co-wash or clarify as long as your hair is clean.
2. Apply your mask to hair in sections.
When working with DIY treatments and masks, it’s easier to apply the treatment only when hair has been separated into different sections because you’ll have less knots to work with at a time. I have fine hair, low density, and a small head. For me, four equal sections work. I secure each section with a durable clip to keep the rest of my hair out of the way when applying the treatment.
3. Wear a t-shirt you don’t mind getting dirty.
There’s a huge chance that things will get messy. Sure, you could probably scoop some of the treatment into a squeeze bottle, but more often than not, you’ll make a mess. It’s best to wear a shirt that you don’t mind getting dirty. I like to apply my DIY treatments using my fingers because it’s the easiest way to detect any knots that need gentle detangling. You can also feel where your hair is most dry or brittle and pay extra attention to those areas when smoothing on the treatment.
4. Start from the roots and work your way down.
While we are looking to achieve healthy and stronger hair, the area at the root is the strongest because it is what is growing directly from your head. Focusing on that area first will ensure that it remains the strongest and will be least likely to break. If you are applying a deep conditioner, start from the bottom and work your way up since it is usually the ends that need the most moisture. Take your time in applying any deep treatment, ensuring that you are thoroughly coating each section and every strand. No curl left behind! After you are done with one section, clip it up and move on to the next.
5. Leave it in for up to 45 minutes so it actually works.
If you are using a hard protein treatment like a DIY gelatin treatment, the duration will be much less since your hair will harden. One thing I like to do is cover my hair with a plastic bag to help trap the heat rising from my head. The heat assists with opening the hair cuticle, which allows for further penetration of the treatment. Another way of indirect heat would be to sit under a hooded dryer.
6. Rinse the treatment out with lukewarm water.
It might be best to work with one section at a time to ensure that you are getting all of the treatment out. Don’t forget to massage your scalp to lift any treatment that has been sitting on the scalp; you don’t want to risk clogging your hair follicles! Rinse your hair until the water runs clear. Most treatments don’t need to be followed with any cleanser or conditioner. Hard protein treatments should always be followed with a deep conditioner to ensure that moisture is replenished!
Do you have any extra tips on applying an at home hair mask?
Subscribe to my YouTube channel, RisasRizos & follow me on Instagram @RisasRizos


