If you’ve been hanging out at NaturallyCurly for any amount of time, you know that we love our natural curls and have no intention of doing away with them! For some of our curly readers, amazing curls with no frizz is still a dream they’ve not yet realized. They can admire our curls, but they can’t seem to get past the frizz themselves.
For those of you still stuck on the frizz boat, the skip curl method may be just what you need!
What Is the Skip Curl Method?
The skip curl method is a technique of handling curly, wavy and coily hair while it is still wet that allows you to control your hair, define your curls and prevent frizz. The technique works best with type 3 curlies, but type 4s can also use it to control particularly coarse sections of their hair. Additionally, type 2s may find that the technique gives their waves some added spiral action.
Jonathan Torch of Curly Hair Solutions and the inventor of this method, says that the best way to overcome frizz is to prepare the hair before letting it dry naturally. Torch says that the key is to remove any tangles and loose hairs prior to letting the hair dry; otherwise, those tangles stay trapped in your hair and result in frizz when the hair dries.
How to Do the Skip Curl Method
The skip curl method takes time and a little bit of practice, but the results last for at least a couple of days, depending on your hair type. Torch suggests using Curly Hair Solutions’ Curl Keeper, his own low-pH product that provides slip for your curls while detangling your wet hair. This product gets rave reviews by our very own curly reviewers, and consistently holds a 4 out of 5 star rating across the board for all hair types.

Curl Keeper Alternatives
- Jessicurl Rockin’ Ringlets
- Ouidad Climate Control Gel
- Tigi Catwalk Curlesque Curls Rock Amplifier
- Curl Junkie Curls in a Bottle

Step 1. Apply Styler
Apply Curl Keeper (or a maximum hold gel”> to wet hair and then finger comb it through your hair to remove all tangles. Choose a small section of the hair to begin, comb it through one last time to be sure it’s 100 percent tangle-free.

Step 2. Twist Around Your Finger
Begin twisting the hair around your finger from root to end. It’s important to twist in the direction that your curls naturally twist; otherwise, you’ll be working “against the grain,” which can result in frizz and defeat the purpose.

Step 3. Skip Rope
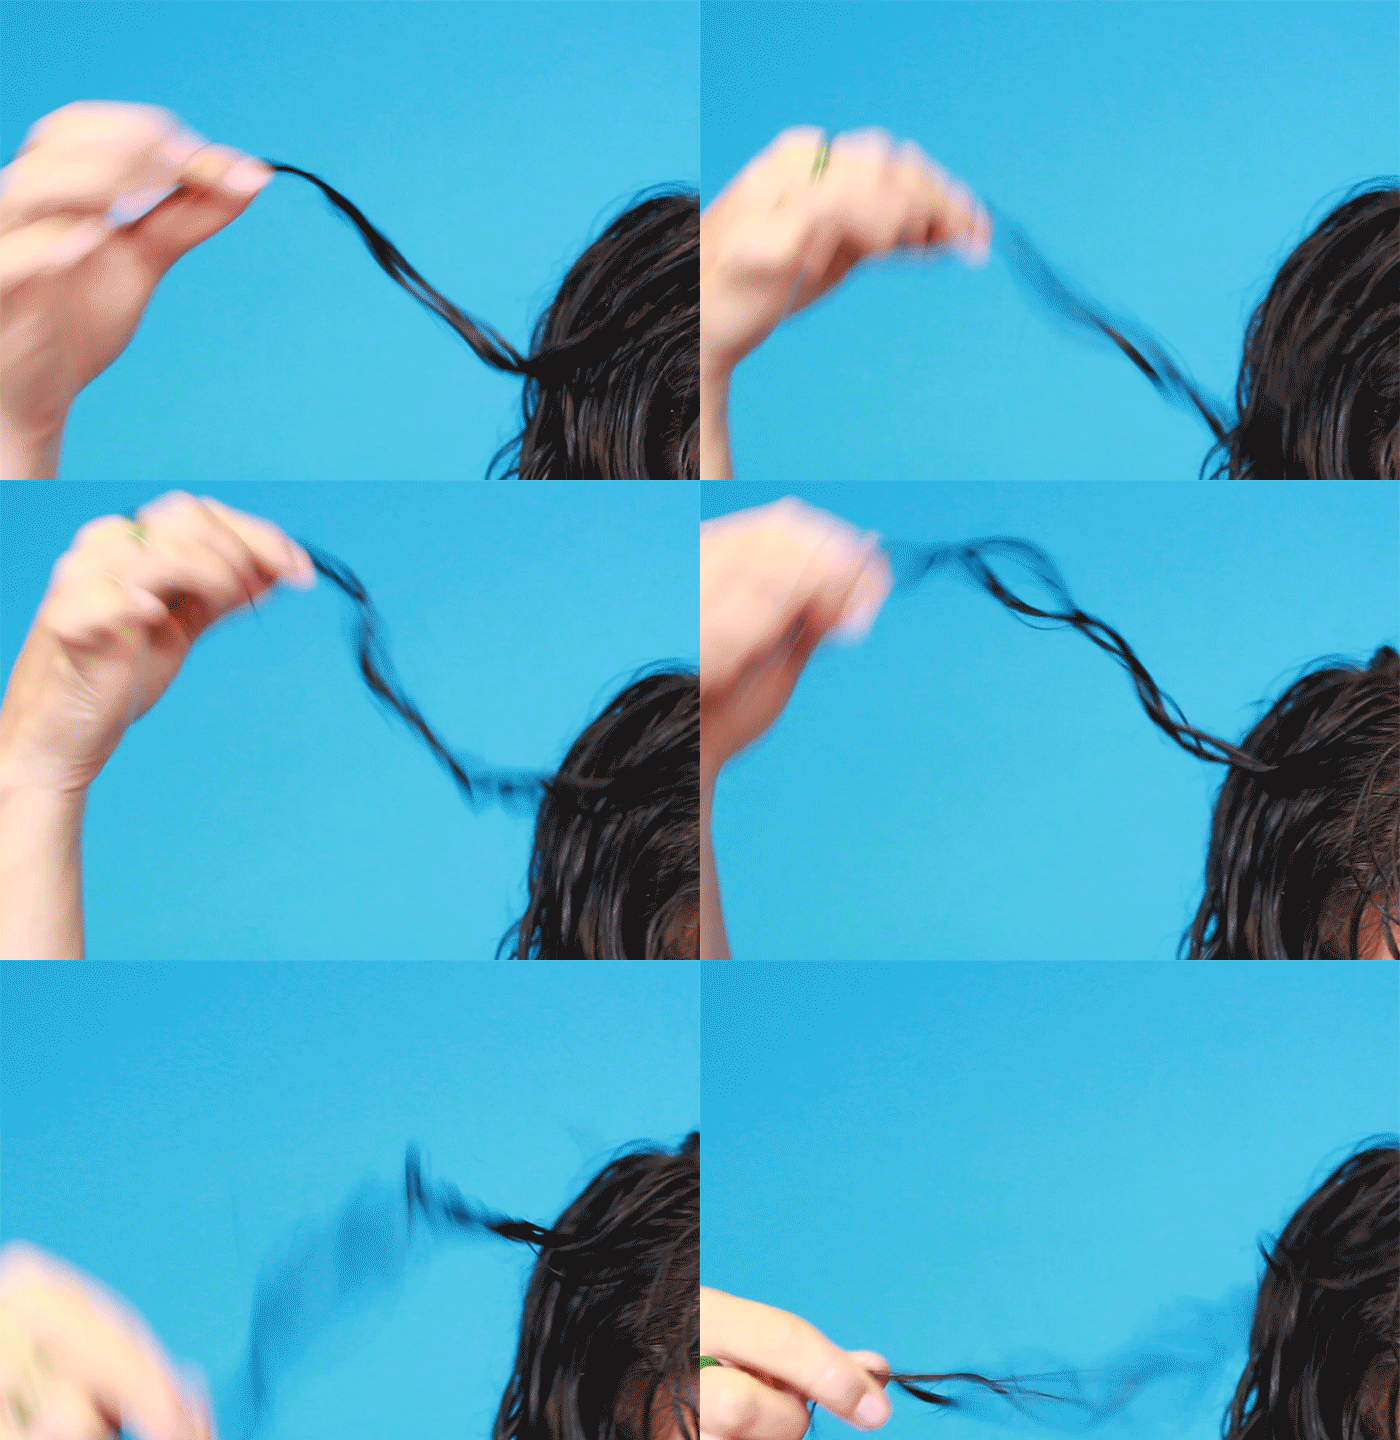
Gently slide your finger out of the twist, hold on to the end, and literally “skip” the hair around a little, sort of like you’re swinging a jump rope. Then, just drop the curl and start on another section. Once you’ve done this to a few sections, you can scrunch those sections together to intensify the curl.

Toss your hair upside down when you’re finished, shake and sit back upright. This will help add some volume to your hair. You can then just let your hair air dry – no dryer or diffuser necessary!
You can watch curl expert and the inventor of this technique, Jonathan Torch, practice this technique himself in this video – it’s an oldie but a goodie.


