Those with naturally wavy hair know only too well that it’s often difficult to judge how your waves are going to form, which can lead to damaging habits such as smoothing our waves with a straightener or curling wand. This is where the TikTok bathrobe belt hack for heatless waves comes in. Read on to find out how to achieve these heatless damage-free waves using a bathrobe belt.

Pictured: @cierafaith
Who Does this Technique Work Best For?
This technique works best on long hair as shorter hair may not reach all the way around the belt as you braid. However, you could try doing it just on the top part of your hair, so you have waves on top.
People with tighter curls may struggle with this technique as your natural curls may work against the waves. The best hair type for this technique is Type 2A-C; it can enhance your natural wave and curl pattern.
@maaltoks Reply to @hlangsam ♬ original sound – maalvika
Step 1. Prepare your hair for bathrobe waves
The basic method for bathrobe waves involves splitting your hair into two sections and braiding each side with your bathrobe belt.
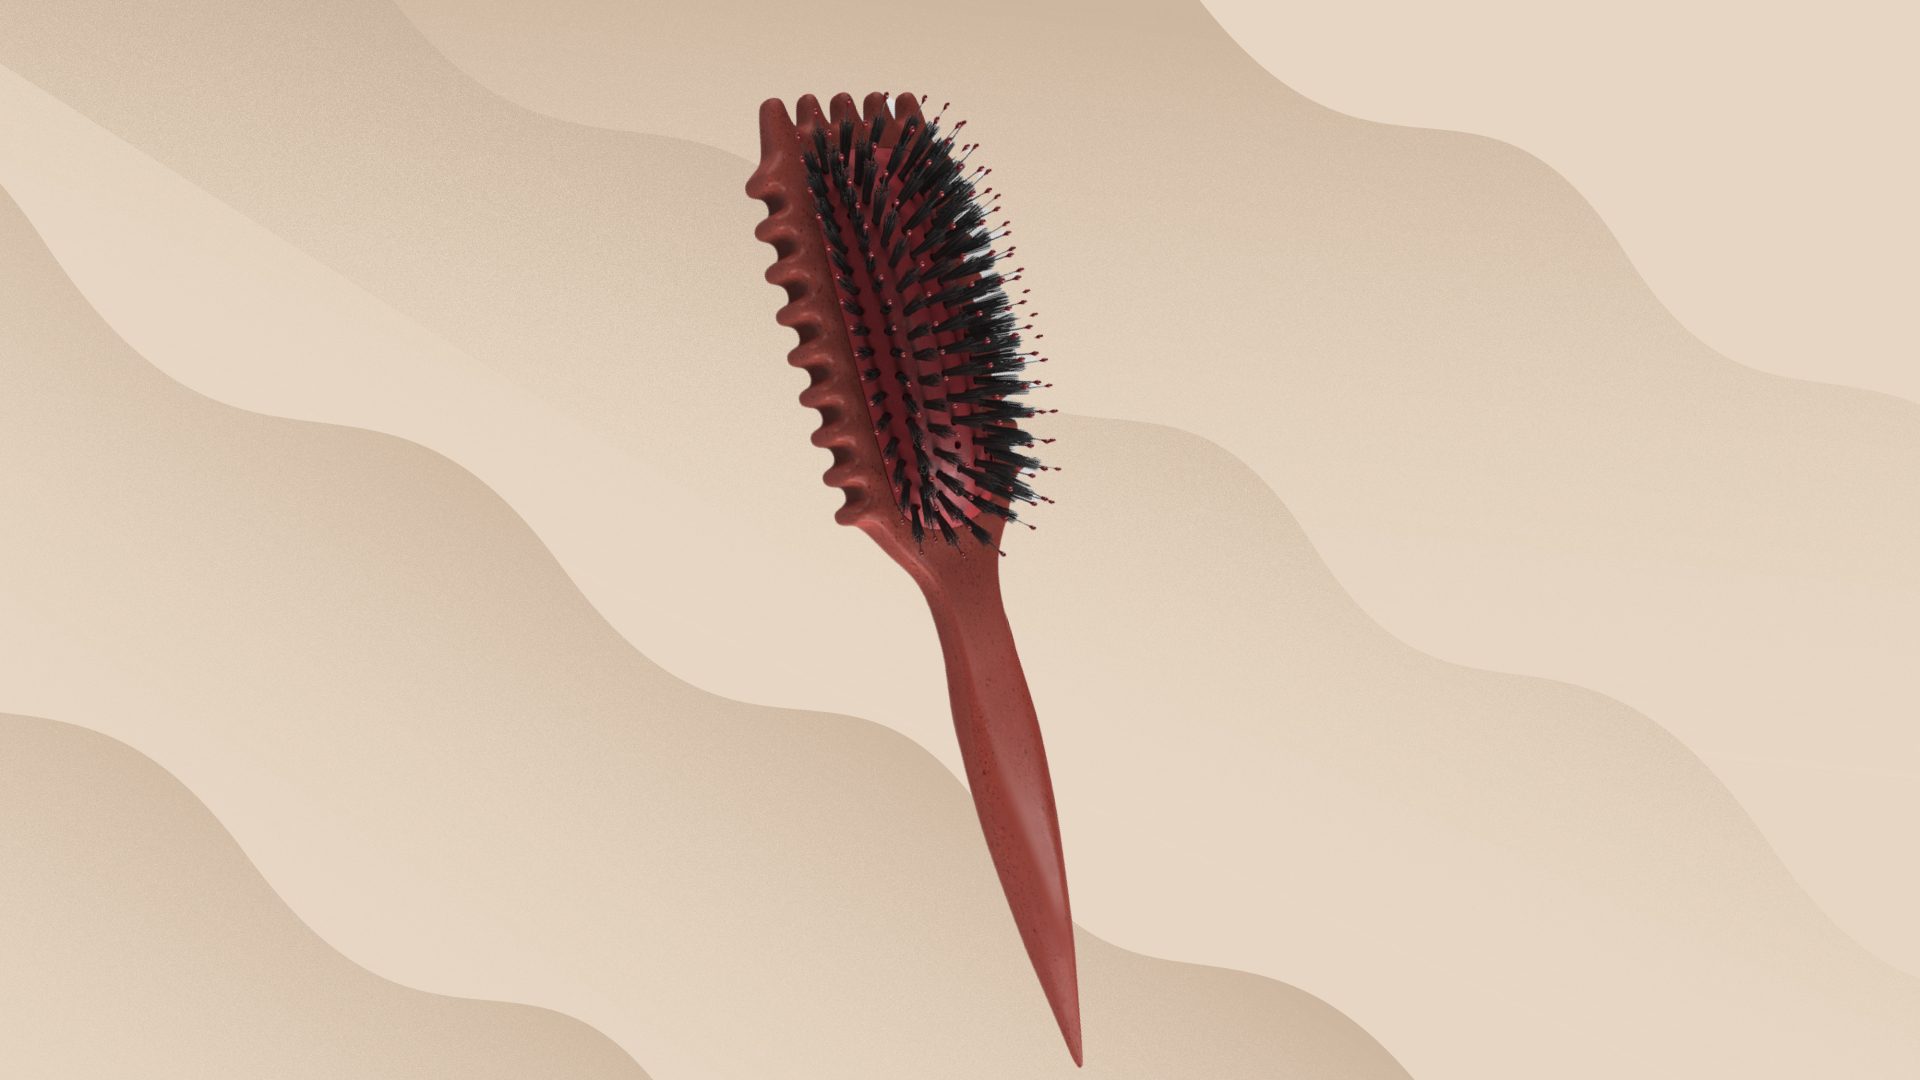
The key to achieving perfect bathrobe waves, is to do it on dry hair rather than damp to avoid wonky waves. Brush or comb through your hair carefully with a boar bristle brush or your favourite detangling brush.
The next thing to do is to decide where you want to part your hair. Flipping your hair after you’ve formed the waves, might cause them to break up so decide beforehand which way you want it to fall. With the handle of a comb, divide your hair clearly into two sections. A middle part works best for even waves. Make sure the part goes all the way to the back of your neck and pull the two sections forward over your shoulders.
Next lay your bathrobe belt flat across the top of your head, about two inches from the hairline. Make sure the belt is even on each side. Then create two loose ‘bunches’ and secure the left-hand bunch (including the belt”> just below your left ear with a spiral hair bobble to keep it in place. You will work on the right-hand side first.
Your next important choice is how thick you want your finished wave ‘clumps’ to be. You are going to effectively French braid your hair with two sections instead of three, using the bathrobe belt as one of the sections so for large glamorous waves, take larger sections of hair to braid with the belt. For smaller, lighter wave clumps use smaller sections to braid the hair.
You also need to decide how tight or loose you want the wave. Braiding tightly will create curlier waves and braiding loosely with large sections between each twist will create looser, more beachy waves.
@bacardibri123 This is cringeworthy but 10/10 would recommend #fyp #foryou #DecadesofHair #coronavirus ♬ Buttercup – Jack Stauber
Step 2. Braid with the bathrobe belt
Divide your right section of hair in two. One section towards the front and one towards the back. You will braid the front section first.
Starting at the top of your head, take a small section of hair and twist over the top of and then under the belt so the hair is at the front of your head again. Collect another section and incorporate it into the first section. Again twist it over and under the belt. Continue to take sections of hair close to the hairline and braid the hair and belt together, twisting the hair and belt away from your face as you move down the section. Once you can no longer include any more sections of hair, simply twist the two sections (hair and the belt”> together, all the way to the end of your hair. You will end up with a long braid with the belt weaved throughout. Seal the end of the braid with another spiral bobble or a small elastic band. Don’t use a scrunchie or it may fall out, especially if you are leaving them in overnight.
Next you will braid the back section of this right hand ‘bunch’ into the first braid. You will do the same routine, but with the hair going towards your face. Take a smaller top section of hair and braid over and under the belted braid where it is not tight to the head (usually by the bottom of the ear”>. In the same way you braided the front section, pick up another section and braid it over and under the belt. Repeat, picking up sections as you go until you have included all of the hair in the bunch. Twist the two sections (the original belted braid and the hair together”> all the way to the end of the hair.
Remove the spiral bobble from the left side and repeat the braiding.
Lightly spray with hairspray and leave the belt in overnight or for a few hours throughout the day. The longer the belt is in, the longer the waves will hold.
Step 3. Remove the Belt
Remove the bands and untwist the belt, carefully releasing the waves. You then need to decide how much you want to manipulate the waves. You might want to just leave them as they are, but you may find you don’t have much root volume. To lift the roots, use a pick to lift the roots slightly from the head and spray with hairspray.
You can run fingers through the waves to break them up if you want them looser and less smooth.
Alternatively, you can add a couple of drops of oil so smooth them even further.
Finally add more hairspray to hold the waves.
Top Tips
Use bobby pins to secure the belt if you wish while you’re braiding.
Play around with the shape of your waves, by switching the direction of the hair as you braid.



Try a silk scarf or long socks if you don’t have a belt! The best thing about this technique is how adaptable it is!
If the bathrobe belt isn’t working for you, there are also silk tubes that you can buy that create a similar effect.
@mypawfectfamily Heatless curls are the only reason I have any hair left on my head ? #bathrobecurls #heatlesscurls #longhairtips ♬ Lady Gaga Paparazzivmaperformance – ladygaga
Have you tried the bathrobe belt on your waves? Let us know how it worked for you!


