What happens when you take ALL the shortcuts? A disaster, usually. But not this time.
I watched several YouTube tutorials on crochet braids and wigs and since I was strapped for time and a bit impatient anyway, I decided to take a few shortcuts to get my desired look. I wanted a very full, classic halo Afro shape, but you can tweak these steps for a heart-shaped fro, asymmetrical cut, or curly bangs style. The whole shabang is pretty cheap. Here’s what you’ll need:
A stretchy net cap, a wig head, a interlocking needle, and the kinky hair of your choice. I went for the stretchy cap so I wouldn’t have to be bothered with attaching combs, and I chose 10 inch hair to limit the amount of cutting and shaping I would have to do when the wig was complete. All I really needed was a big poof of kinky hair, I figured I could do a roller set or twist-out on the finished wig to add dimension at the end if I ended up wanting something with more shape.
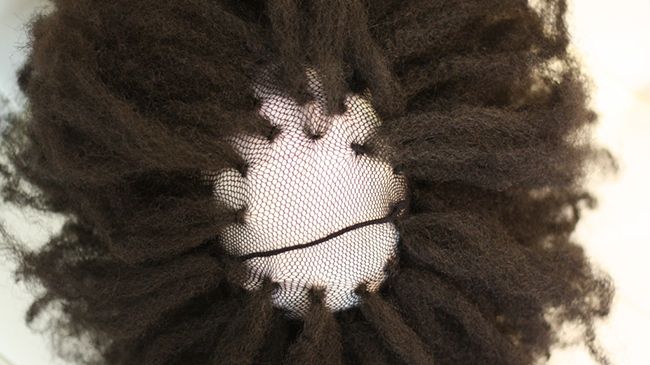
Start by pulling the cap over the face of the wig head. It’s more important to get a feel for the center of the net than to try to work around the physical features of the wig head. As long as you can keep everything in relation to the center seam of the stretchy net, you’re good.
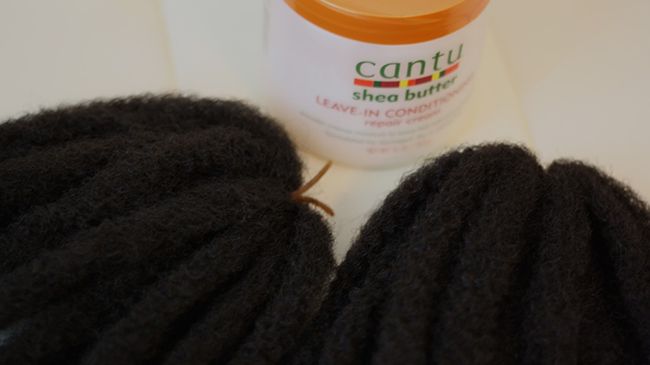
The hair comes sectioned off, I split each mini loc in half and into thirds when I got to the top of the wig. I coated them with a bit of water and leave-in conditioner for softness.
The actual “crocheting” process was pretty easy. Go under the net with an open hook, hook facing downward. Then go through the net, insert your hair, close the hook. Then pull the hair through the loop and secure. You can choose to make another knot but this hair was so kinky it really didn’t need it. Boom, another shortcut.
I tried to separate every knot by two finger spaces but for a look like this, the thicker the better. I fluffed as I went and started to make the knots closer together toward the center. Any wig that doesn’t involve a part can be done this way. If it starts to look like a mushroom thats okay, you can cut and shape at the end.
Since I went with short hair I barely had to do any trimming. I tried a few techniques I learned from the video below this video but I actually could have worn it as is. Not to shabby for a shameless cheater? Lol
This article was written by Jascmeen Bush and published on CurlyNikki.


