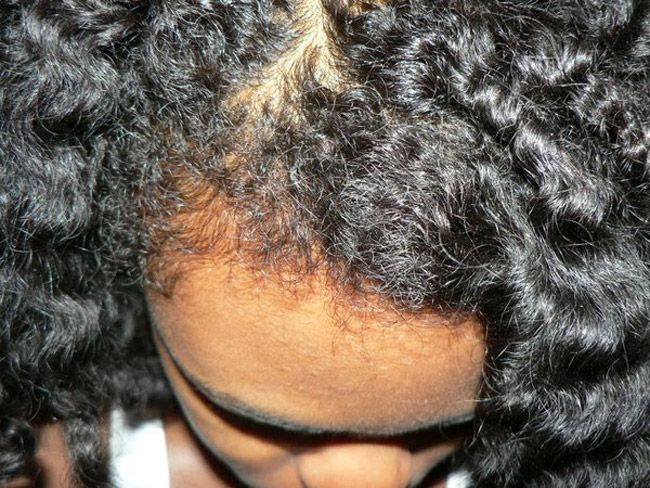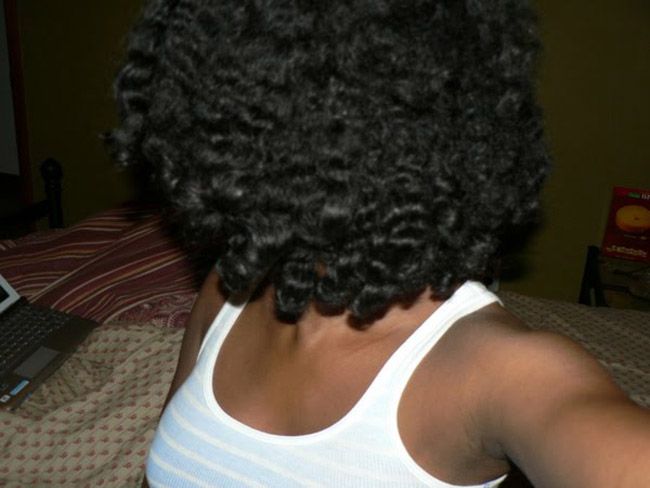
Why do a henna gloss?
A henna gloss is used when you want subtle color change along with deep conditioning. It’s easier to apply because of the wonderful slip provided by the conditioner, much easier to rinse, and leaves your hair smooth and soft, as opposed to crackly and dry after a straight or full strength henna treatment.
I recently called it a “mild henna,” but I’d like to retract that. I started thinking . . . it would be considered a mild henna if I used less henna and more conditioner. My mix was 50/50 . . . so I guess I did more of a “conditioning henna treatment!” Remember that the property in henna that dyes the hair red is the same one that conditions, strengthens, defrizzes and smooths. Mixing in 1 or 2 tablespoons of henna (into a cup or two of conditioner”> will give you very little color change, but you’ll also miss out on the full effects of henna’s conditioning powers . . . so you’ll have to make that call yourself.
This would be a great option for two types of folks:
- Those of you who want to see what the hype is about, without making the color commitment. Just be sure to strand test, and to modify my recipe. You should mix 1-2 tablespoons of henna directly into your conditioner (not allowing for dye release”> and only leave-in for 20-30 minutes. Henna is strong, so ALWAYS strand test… the red will creep up on ya quick!
- Faithful henna-ers that want to experience soft, smooth results upon rinsing. It’s truly amazing! My 50/50 mix left me with similar dye release, color uptake (I was surprised”>, strengthening, and smoothing. I’m impressed.
What you’ll need:
- BAQ Henna (at least 100g”> – I use Jamila henna
- Green tea
- A light, protein-free conditioner – I like Tresemme Naturals
- Optional: honey, unsweetened yogurt (some people use Yogurt in place of the conditioner”>
Instructions
Mix it
- Add 100g Jamila henna to 1.5 cups warm green tea with 2 or 3 tea bags
- Mix in 1 cup of conditioner
Apply it
Apply to damp and detangled hair in sections. Then don a plastic baggy, with cotton balls or tissue rolled up near your ears to catch drippies, and a scarf to cover the ugly mess. Leave in for the desired amount of time. Remember, the shorter (15-30 minutes”>, the less dye uptake… so less red, but also less conditioning. I left mine in overnight, which is why I’m referring to it as a “conditioning henna treatment.” I got the full benefits of henna with the added bonus of a moisturizing deep treatment!Modify my recipe and leave it in for less time if you want only a subtle color change. If you want the full benefits of color and henna’s conditioning powers, leave in for at least 4 hours (I leave mine in overnight”>.
Rinse it
Dunk your head in the tub to wash away most of the mix. Hop in the shower and rinse away the rest using a cheapy, slippery conditioner. It rinses very easily, and you could probably skip the tub dunking.Follow up
Apply a deep treatment, rinse, and style as usual. I did my typical Twist-n-Curl and flat twisted the roots. This new modification (the flat twisting”> has done AMAZING things! My waves/curls are much more consistent.



There you have it folks! I hope this is helpful.
If you have questions about henna, check out my Henna Q&A.
This article was originally published in May 2010 and has been updated for grammar and clarity.

