For all naturals, self-proclaimed gurus and beginners alike, a twist-out is the easiest easiest style to learn but the hardest to master. In the age of hair influencing online, creators everywhere have their own twist-out techniques and product combinations to create their version of the perfect twist-out afro.
But, the reality is, the perfect twist-out recipe might be different for everyone. It all comes down to trial and error. As hair tutorials continue to flood online platforms such as YouTube and TikTok, it can feel overwhelming to know where to begin.
But, fear not! Below, to help you get started, we’ve put together a customizable step-by-step twist-out guide for all textures.
Products Needed
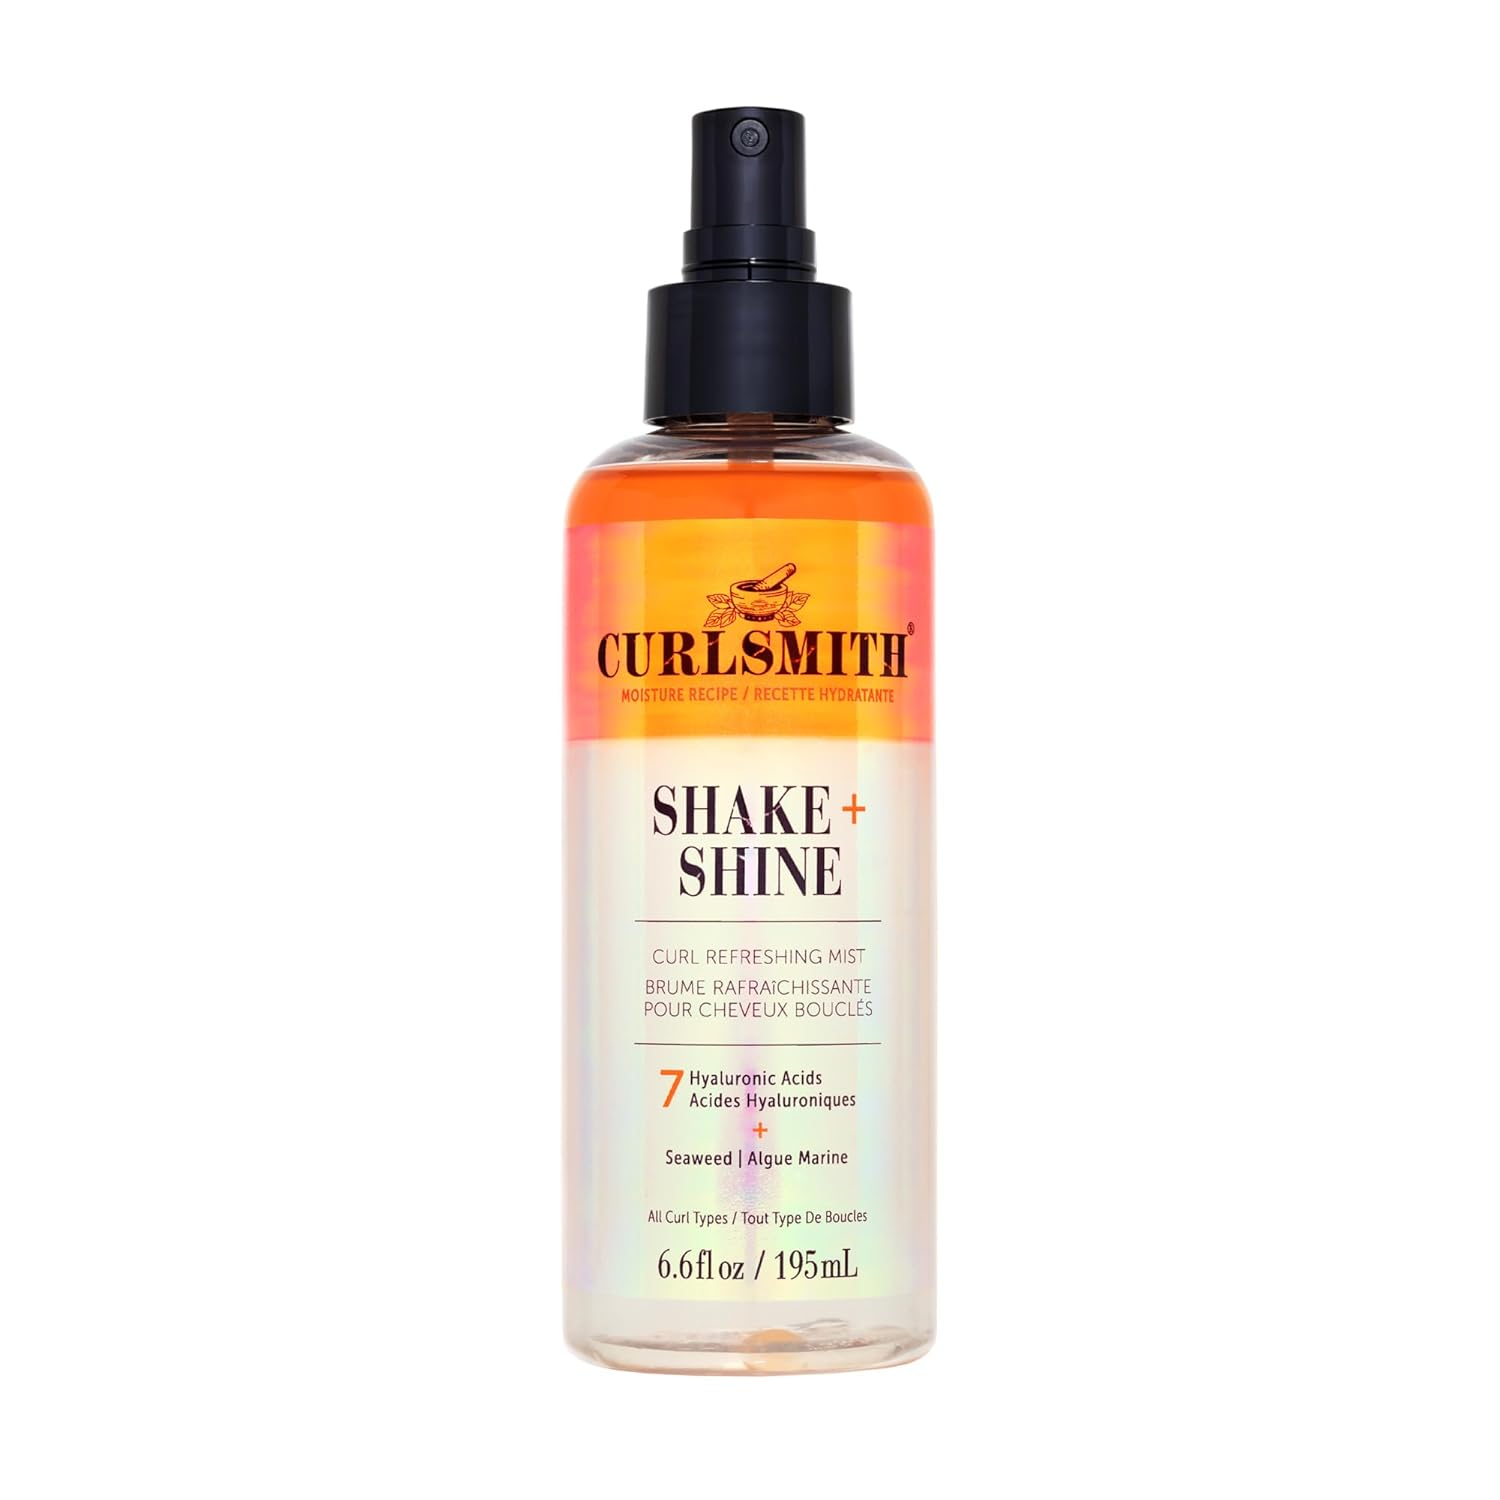
To achieve a successful twist-out, you’ll need a wide-tooth comb, parting comb, a Denman brush, sectioning clips, leave-in conditioner, twisting cream, curl custard, and an oil. If you’re going to blow dry, of course you’ll also need a heat protectant!


How To Do A Twist-Out
Step 1: Wash Routine
Before beginning, most natural style naturals should consider cleansing their strands. Texture hairstyles are typically more defined if curly or coily strands are able to fully absorb hair care products. Naturals should cleanse their hair by way of their regular wash day routine and then place their hair in four or more manageable sections of hair.
Step 2: Detangle And Stretch
Pick a section of hair to work on and place a plastic shower cap over the rest of the hair to help prevent the curls from drying out. Taking the wide tooth comb, detangle the curls section by section with a leave-in conditioner of your choice. For naturals hoping to work on length retention, after detangling apply heat protectant and stretch the curls until it reaches your desired length. Keep in mind, when you begin applying the twisting products you may experience shrinkage.
Step 3: Pick A Shape + Part
Keeping the desired shape of your afro in mind prior to styling is a major key to ensuring your twist-out looks how you intended, regardless of texture. Decide whether you want a flip-over, side or middle part and section off the front of your crown using your sectioning clips.
To create a middle part, use the parting comb to split the front section into two even parts. For side parts, use the comb to part your hair a few inches away from the center of your hair.
If you’re doing a twist out on slightly damp hair, it’s best to do flat twists to help retain length. Part the back and middle of your hair into 3 to 4 rows as needed.
If you’re doing a twist out on blow dried hair, you can skip parting (clean parts aren’t always necessary for twist outs). Instead, start with one section by taking enough hair for the desired definition, apply product and twist from root to end.
Step 4: The Twisting Technique
After you’ve sectioned off your hair, you’re going to apply the twisting curl and curl custard of your choosing. Make sure the products are applied thoroughly by combing the product though with a denman brush.
Whether the curls are damp or dry, the technique for twisting is the same.
Split the section you’re planning to twist into two smaller sections. Once you have the smaller sections, and begin turning those sections inward between your index finger and thumb. As you’re twisting the pieces of hair between your fingers, twist them together; this ensures a more defined curl.
Step 5: Dry, Protect The Crown
Letting your twist out air dry overnight or sitting underneath a soft bonnet dryer for 30 to 45 minutes works the same. Wrap your hair in a satin scarf or bonnet, invest in satin pillow covers for extra security.
Step 6: The Take Down
After making sure your hair is fully dry, coat your hand in an oil of your choosing and reapply as needed to help reduce frizz. Gently take down each twist gently without disturbing the curl pattern.
Once you’ve taken down all the twists, assess where each twist is naturally separating and pull it apart to achieve a fuller twist-out. Finger twisting the ends of each twist as you separate helps preserve the curl pattern. For more volume, take a wide tooth comb and gently fluff the roots in medium sized sections.
Keep in mind, the more you separate and fluff, the less likely your twist out remains defined or lasts more than a few days.
Step 7: The Night Routine
The downfall of most hairstyles is maintenance. Maintaining natural hairstyles can be tricky depending on your lifestyle and routine. Luckily, twists are just as easy to install as they are to take down.
Here are three options for what to do with your natural twist-out before bed:
- Pineapple Method: Gently push your hair into a pineapple on top of your head and use a scarf to wrap the perimeter. Fluff in the morning as needed.
- Retwist + Recycle: Twist your curls into bigger twists to preserve the curl pattern, tie down your afro with a satin scarf. Separate in the morning for fullness.
- Banding: Wrap a ponytail holder down the entire length of a medium-sized section of hair while maintaining the shape of the afro. Shake and go.
Tag us in your twist-outs @NaturallyCurly.


