We like Curlformers because they’re a heatless way to change your curl pattern for a few days. And when you wash your hair you know your curls will return right back to your natural curls without any risk of heat damage. We know learning a new tool can be intimidating, but these are so simple to use – on any curl pattern. Watch for the hacks Nikki, Evelyn and Cristina have figured out for getting your best Curlformers results.
1. Make sure your hair is completely detangled first
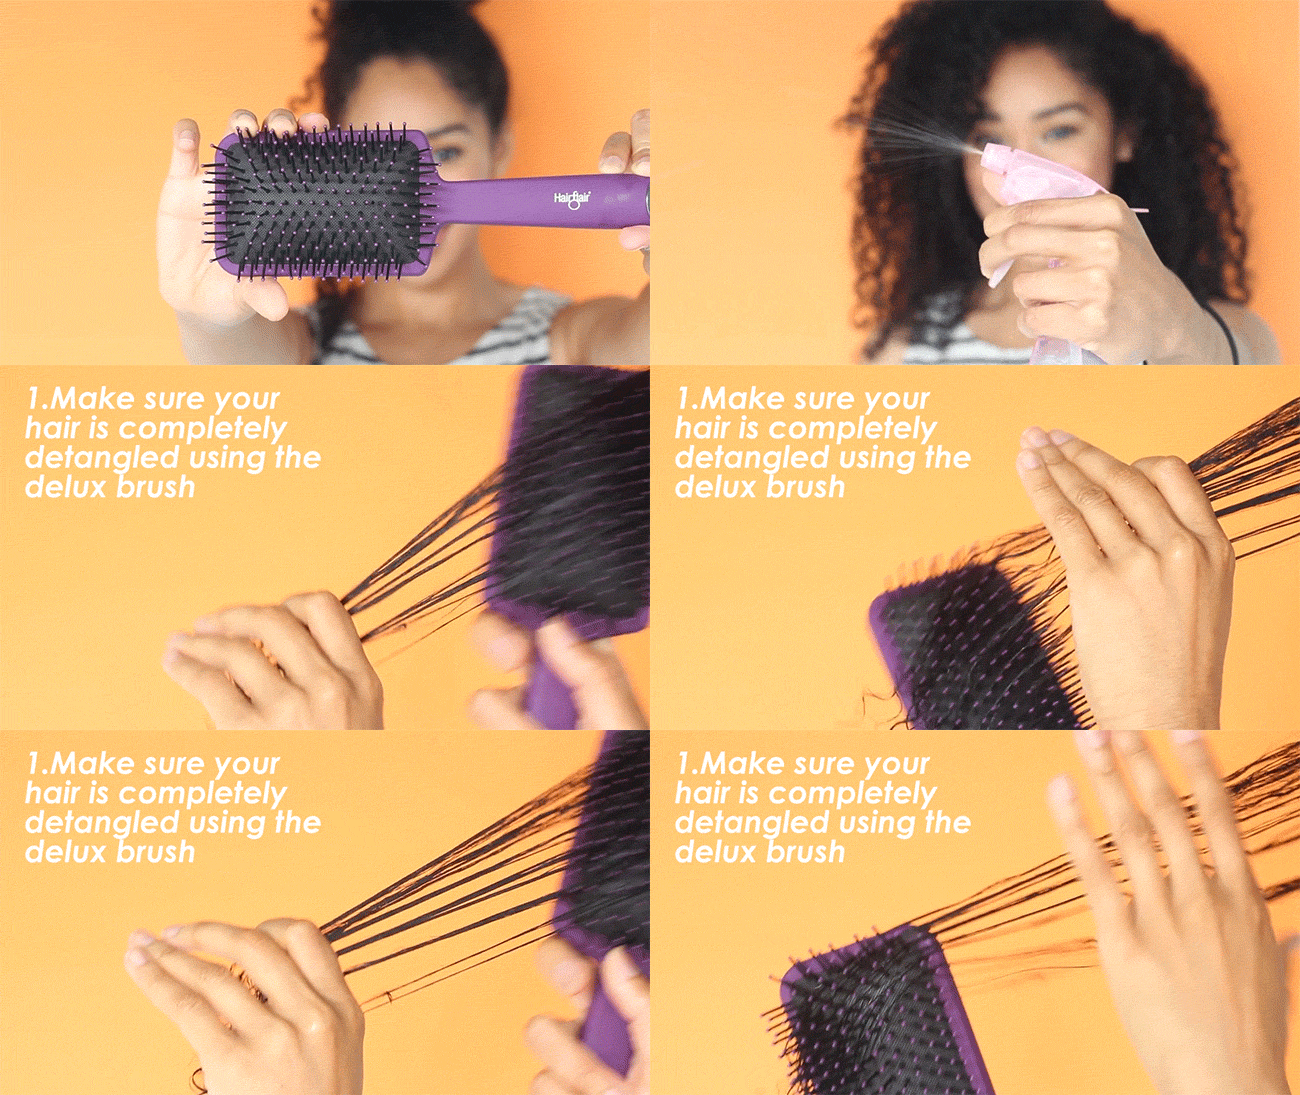
In order to have your quickest and easiest Curlformers experience, it is extremely important that you detangle your hair first. This will make the Curlformer glide over your curls much more smoothly, and can also help elongate your curls for your best results. Detangle how you normally would, whether it’s before or during your shower with a slippery conditioner in your hair. If your hair is already dry, then spritz it with water in a spray bottle to dampen it and detangle with your fingers, a wide tooth comb, or a brush. Nikki used the Curlformers Delux Brush to remove her tangles.
2. Spot treat heat damaged hair with Curlformers
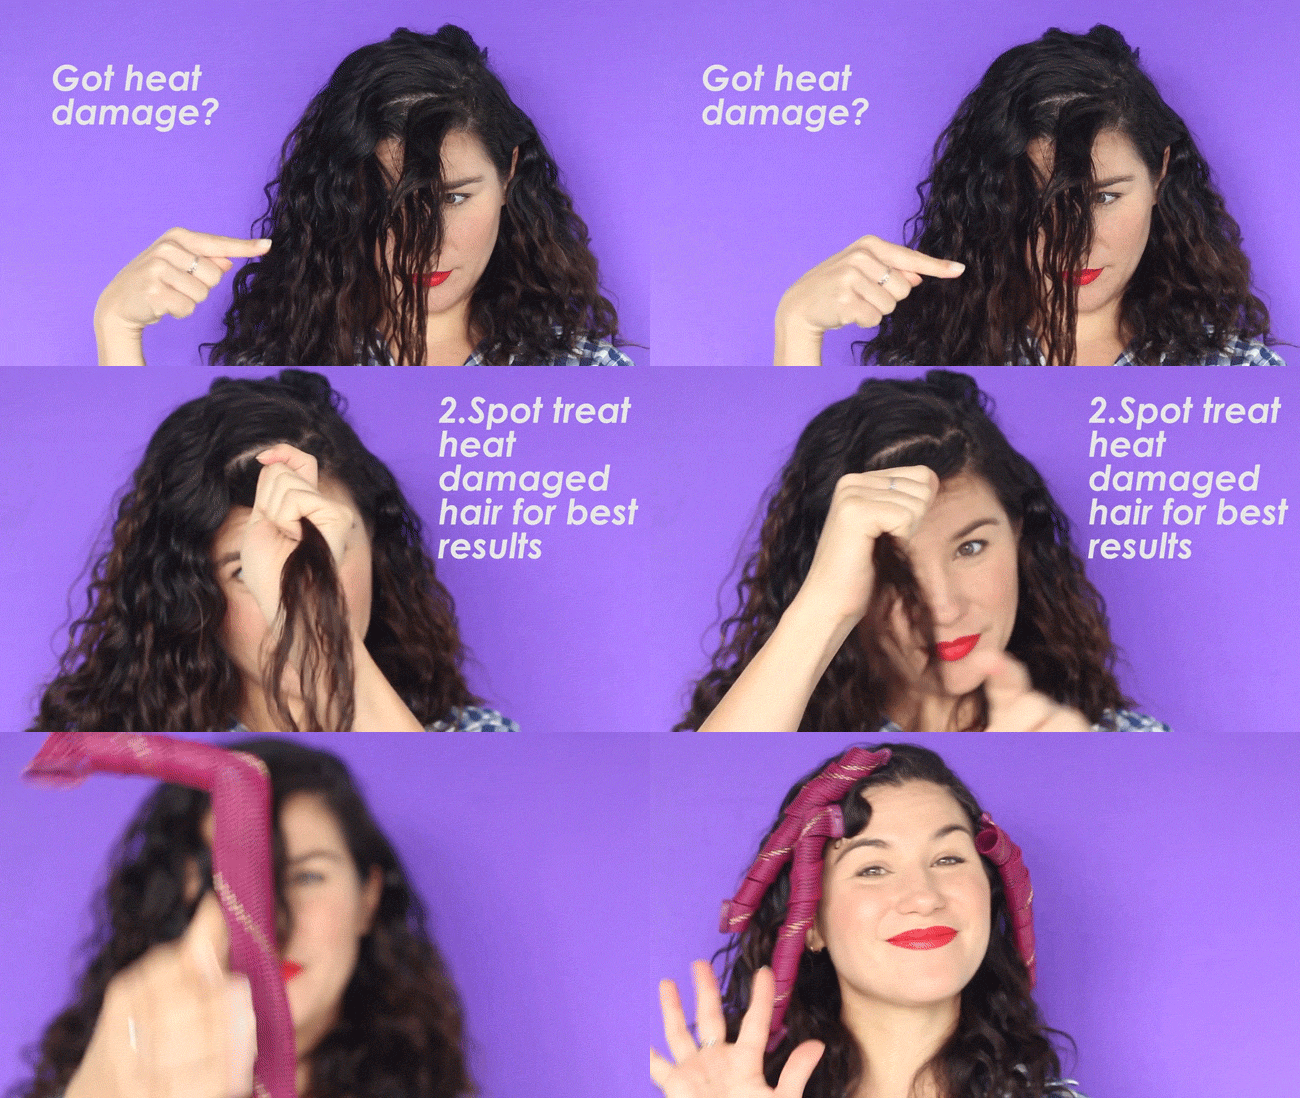
You may have seen tutorials where Curlformers are used on all of the hair, but that does not have to be the case. Cristina has hair around her face that refuses to curl, which is likely due to heat damage or the manipulation of pulling her hair back frequently. She uses a couple of Spiral Curlformers on her dry hair to spot treat those curls without using any heat (which can further damage her hair”>. To do this, simply spray with water or apply a light styler to the sections you want to curl, then put one or two Curlformers just in the spots that need help curling. You can leave them in while you put on makeup and get dressed for the day, then remove them and you have curls that match the rest of your head. You can also use this trick when you wake up in the morning and have a few curls that look misshapen or frizzy.
3. What to do if your Curlformer gets stuck
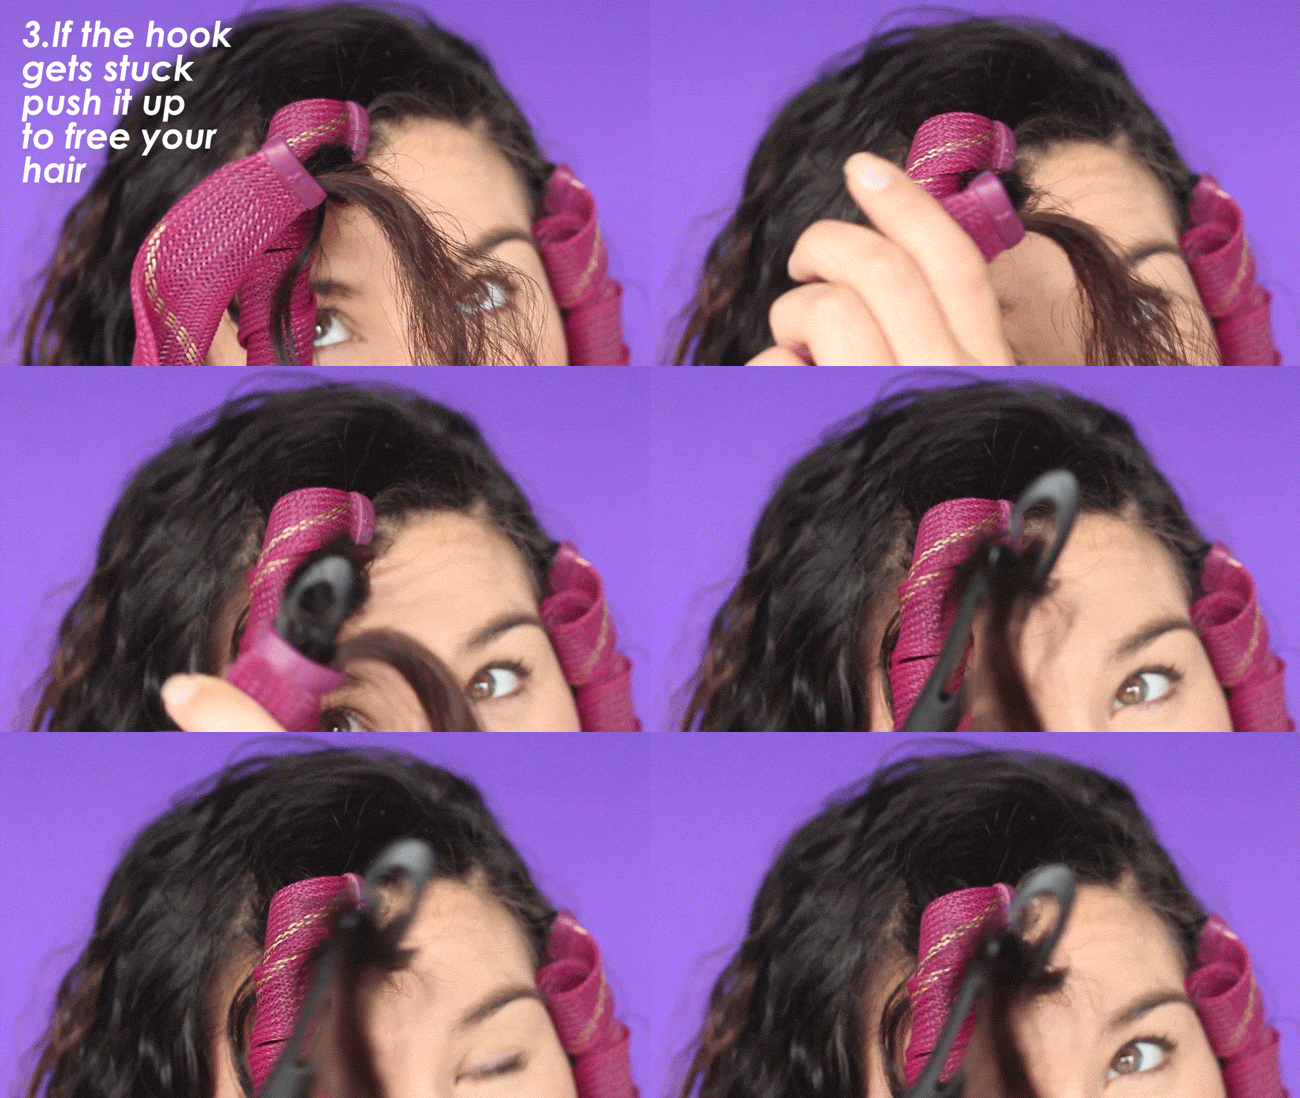
If the wand gets stuck as you’re pulling your hair through the Curlformer, do not pull and force it through. Simply push the wand back up so that you can start over with that curl. It only takes a second, and is so simple to do.
4. Make sure your hair is completely dry before removing
This is one of the most important tips, do not skip this one! If you remove Curlformers (or any roller set”> before your hair is 100% dry, your hair will likely frizz and lose the curl definition that you have worked so hard to achieve. If you do not have the patience to wait until it is dry, or if you have highly porous hair that takes a long time to dry, use a hood attachment for your blowdryer that will speed up the process. Set your blowdryer to the cool setting to avoid heat.
5. How to remove a Curlformer
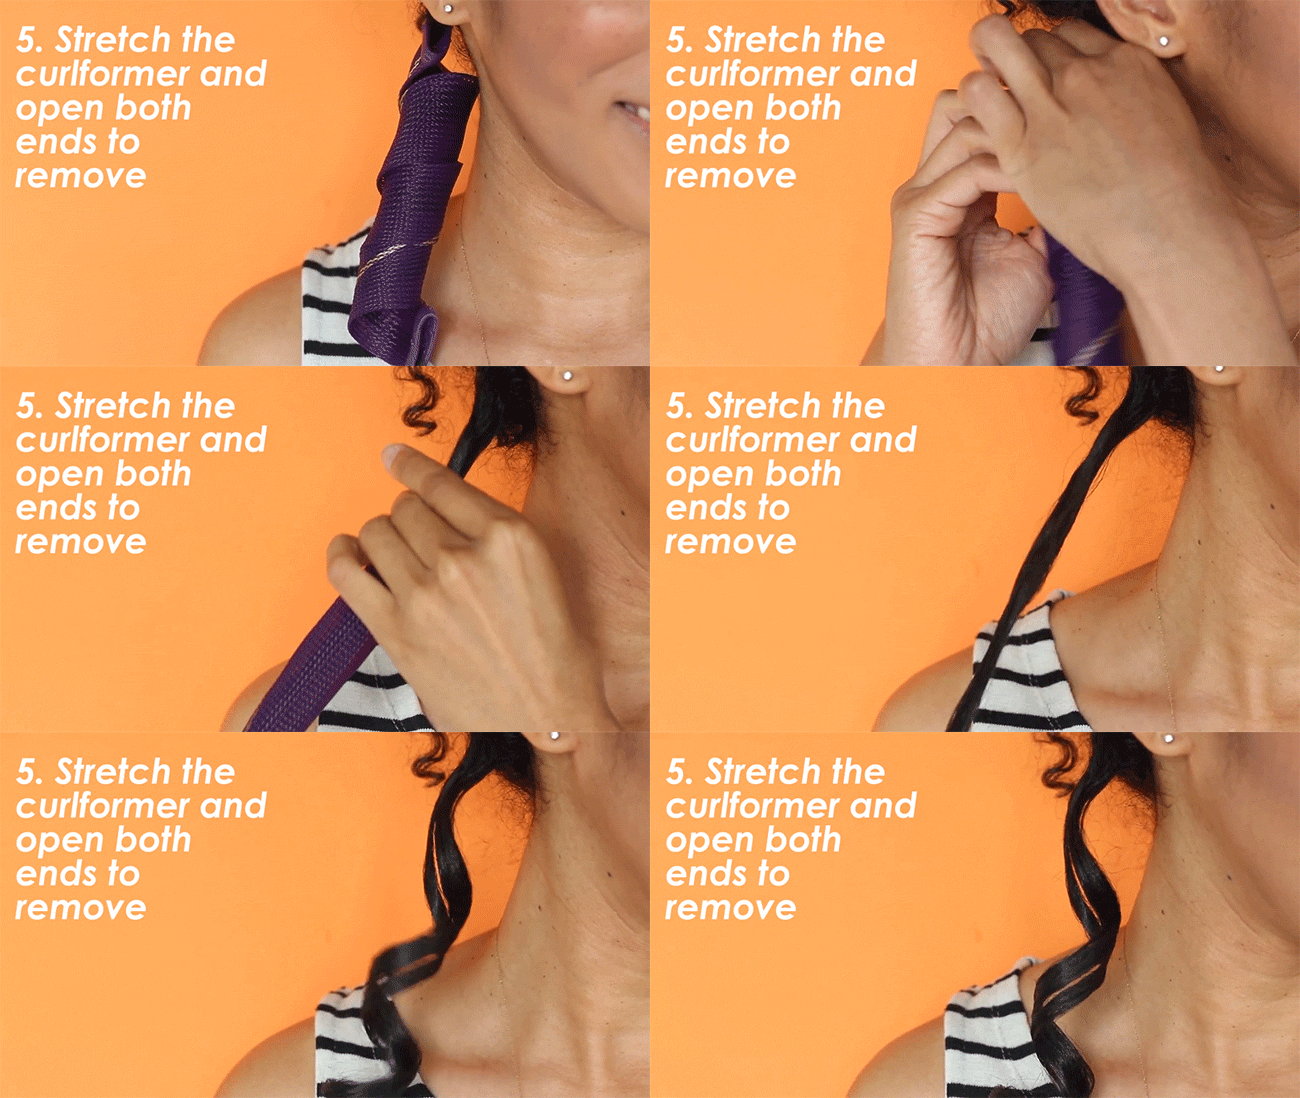
You detangled your hair, put in your Curlformers, and waited until they were completely dry. Now what? Removing them is actually pretty simple, especially if you know this trick. The easiest way is to stretch the Curlformer out using your fingers, then pinch the end near your roots and the one at your ends to open it up, then pull. Your hair will easily slide out without any pressure on your hair or scalp. You can see Nikki removing an Extra Wide Curlformers from her hair to create large barrel curls.
6. How to preserve your curls for 2nd day hair
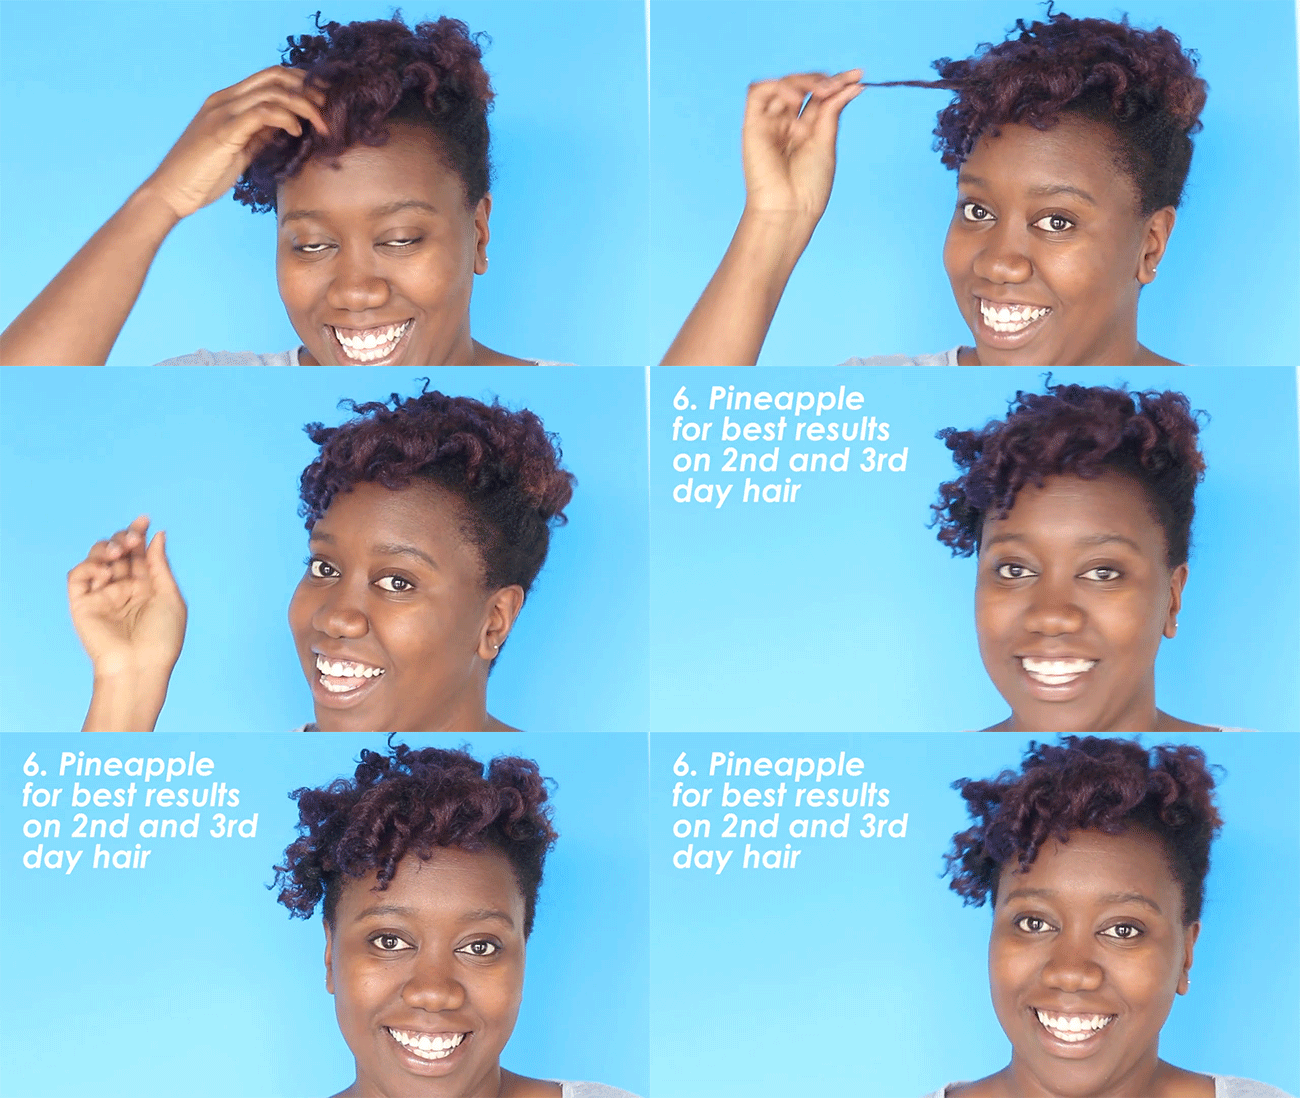
If you want to make your style last for 2nd, 3rd and 4th day hair, the best way to preserve it is by sleeping with your hair in a pineapple. This will prevent you from messing up your curls as you lay on them to sleep. To pineapple, simply pull all of your hair on top of your head and secure it very loosely with a scrunchy or hair tie. This will not only keep your hair from rubbing on your pillow, it will also prevent you from creating a dent in your hair where the hair tie was. If your hair is too short to reach up into a pineapple, try the multi-pineapple by pulling your hair into several loose hair ties instead of just one.
[prodmod]This post is sponsored by Curlformers.
