Your curls don’t want to clump properly, but love being in a lot of small strands? If so, this article is a must read for you! After years of trying to get my curls to clump, the following routine finally helped me with clumping.
1. Comb your curls thoroughly to remove all knots
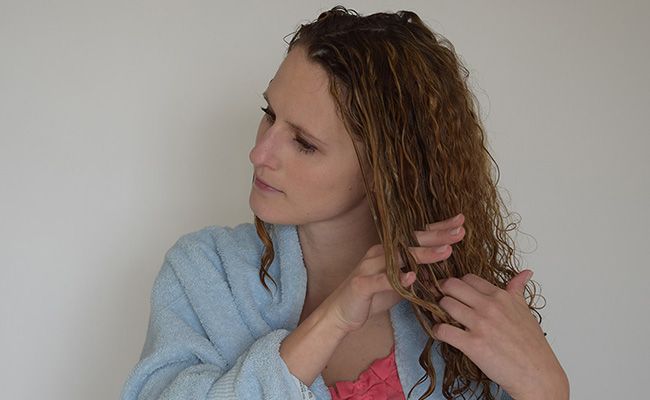
First of all, start off as usual when washing your hair, then continue by combing your curls when they’re soaking wet and covered with conditioner. Make sure to thoroughly comb them with either your fingers or a comb to get rid of all the knots. This is important, as knots prevent your curls from clumping properly.
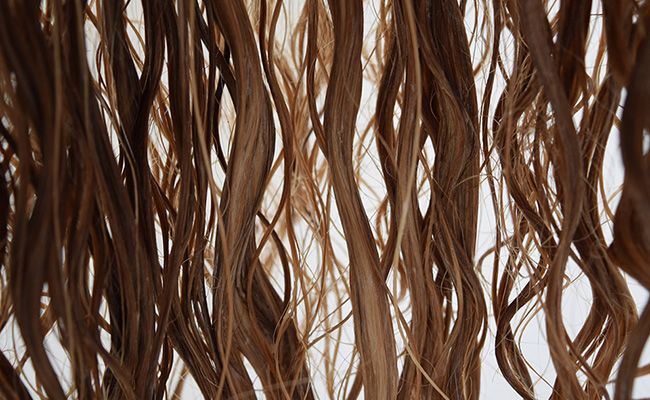
Don’t worry if you are breaking up all the clumps at this point–it’s natural to break them up while combing your curls. The following picture shows how my curls look at this point during my routine: obviously, there are a lot of small hair strands.2. Stop raking after you have combed your curls
The next step is crucial to get my curls to clump: Rinse out the conditioner you have added to comb your curls and do not rake through your curls anymore –not even to rinse the conditioner.
As far a clumping goes, combing your curls to evenly spread your styler is a no-go. Of course you still have to be able to add styler to all of your curls. My favorite way to make sure all of my curls get covered with styler, is to take some styler into my hands, rub them to spread the styler in both my hands, then put my head upside-down and glide along the “outside” (no raking!”>–from the nape to the ends.
Now repeat the gliding along on the “inside” of your curls, meaning from your face to your curls’ ends. Usually the ends don’t get enough styler and easily get frizzy. To prevent this kind of frizz, I grab all of my hair like I’d put it into a ponytail to provide them with enough styler.
3. Get rid of excess moisture
To get your curls to clump they’re supposed to be as dry as possible when you start blow-drying. I also recommend the following procedure if you prefer letting your curls air-dry, because it will make your curls springier.
Start scrunching with your bare hands, but try not to touch your curls too much in order to keep them from getting frizzy. The easiest way to do this is by cupping about ¼ of your hair, bringing your curls close to your scalp and then squeezing your hands 5-6 times while staying at the same spot – like you were squeezing a lemon. Yes, literally! The more pressure you use when squeezing, the more moisture you’ll get out of your curls, leading to better clumping and less frizz. Repeat this for all of your curls. (picture 5″>
After scrunching your curls with solely your hands, I recommend plopping for a few minutes to get rid of some additional moisture. If plopping isn’t for you, just skip it!
4. Keep on scrunching…
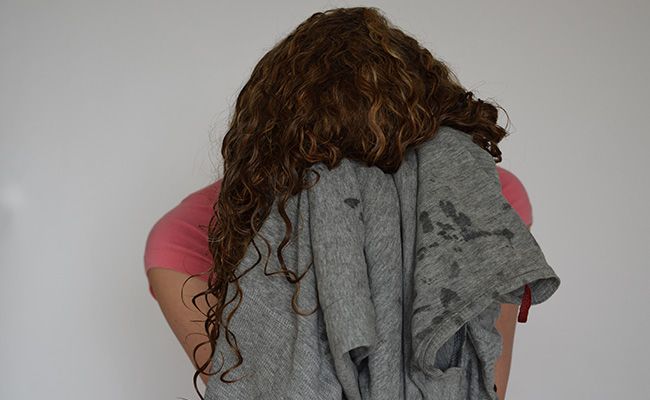
I usually plop for about 10 minutes and then scrunch again with the old t-shirt I’ve used for plopping. Again, squeeze with a lot of pressure to get rid of as much moisture as possible. I either stop scrunching when my t-shirt is totally wet (it already was a bit wet from plopping”> or when my curls don’t release any more moisture. This is exactly the condition you want them to be in before diffusing your curls – already as dry as possible!
5. Minimize frizz with the right blow-drying technique
If you choose to blow-dry your curls there’s one thing to bear in mind while diffusing: Don’t move your drier whenever it’s turned on. Always turn it off before you move to diffuse another section of your curls. This is the last step to get nice clumps, because turning off your diffuser to move it will prevent your curls from getting frizzy. You’re thinking this doesn’t have anything to do with clumping – you’re right it doesn’t directly, but it certainly has in indirect impact on your clumps: The less frizz you’ve got, the more hair strands stay within one clump thus getting your curls to form bigger clumps!
These already are my 5 steps to get curly hair to clump nicely. They won’t take up a lot of time, because they are only slight adaptations to your usual routine.


