SUBSCRIBE
  • Home
  • Watch
  • 2024 Event
    • General Info
    • Presenters & Speakers
    • Tickets
    • Get in Touch
    • FAQ
  • Shop
Home • Curly • Hairstyles

4 Diffuser Tricks Every Curly Should Know

Share this Article
Getting your Trinity Audio player ready...
4 Diffuser Tricks Every Curly Should Know
By Christina Patrice · Updated February 18, 2015

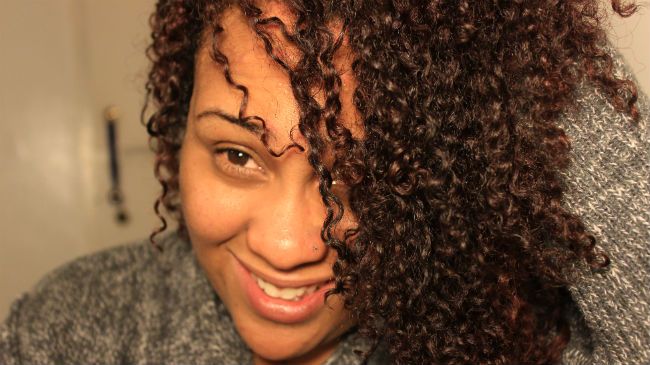
If you’re like me, you’ve wanted to get in to diffusing, but just couldn’t figure out why your end results looked absolutely NOTHING like everyone else’s. From dry, crispy, and shrunken, to frizzy and dull, your attempts at diffusing have been practically a fail. Worry no more, I’m here to help! I’ve managed to identify the 4 key areas of concern when it comes to diffusing, and what to do about them.

In this video, I’m starting on a wash and go that I did earlier in the afternoon. I followed the LOC method prior to styling, using Giovanni Direct Leave-In as my leave-in conditioner, Longview Farms Pure Refined Emu Oil to seal in moisture, and Amika Straight Up Smoothing Balm as my cream. I followed that up with my curl definer of choice, and allowed it to air dry with the front pinned back for gentle elongation (since I have more shrinkage up front”> for about 4 hours or so. The front half of my hair is still pretty wet from being pinned up, and my roots were still wet all over, also.

For me, this is the perfect hair to actually diffuse on–I’d say it was about 60% dry. (Yes, my hair takes forever to dry. I’m also applying more Amika Straight Up Smoothing Balm prior to diffusing for added moisture and heat protection. This step is optional, but recommended”>.

So let’s get on with these major areas of concern around diffusing, and how to hack them.

1. Diffuse mostly dry hair for volume

The first and most major area of concern for many of us is shrinkage and lack of volume when diffusing. I know, there’s nothing more irritating than watching a diffusing tutorial on YouTube and emulating what the vlogger did, but instead of a curly, fluffy mane, you end up with shrunken, thin and puny looking curls. Luckily, there’s a hack for that, and it’s really easy: wait until your hair is at least 50-60% dry before diffusing.

Wait until your hair is at least 50-60% dry before diffusing.

Not only does starting on more than halfway dry hair help cut your diffusing time down considerably (leaving you with hair that isn’t dried out”>, air drying prior to diffusing also gives your curls the opportunity to expand naturally before the diffusing process locks them into place. Trust me, I’ve diffused on completely wet hair before. Not only did it take an eternity, but the end result was shrunken and flat. Once you’re done diffusing, you can remove the attachment and send straight shots of heat to your roots and length while gently tugging your hair downward to further elongate and enhance volume.

2. Apply styler, then don’t touch

Article continues after video.

The second area of concern when it comes to diffusing is frizz. There’s a common misconception because you use a diffuser, your frizz problems will disappear. That’s not the case at all. Mitigating frizz has less to do with the diffuser, and more to do with what happens to your hair prior to diffusing. Combating frizz in the diffusing process is actually two-fold. Before you begin diffusing, ensure that you’ve applied enough styling product to your hair. I’m not saying you have to use an entire vat of Eco Styler gel, but do set yourself up for success by ensuring that your strands are decently coated in your curl definer of choice. And after you’ve applied the product, whether it be via shingling, rake & shake, praying hands, or another method, try your best to keep your hands out of your hair.

Once it’s time to diffuse, make sure you’re handling the hair gently as you move about your head with the diffuser. Moving around your head, alternate between sitting the diffuser at your roots, resting it flush against the length of your hair, and scooping it gently into the bowl and scrunching upward. Repeat this as long as it take for your hair to dry. When it’s 90-95% dry, you can begin shaking and fluffing with the diffuser for added volume.

Bonus hack

Try adding a smoothing balm or serum to your hair right before diffusing. The Amika balm I used in the video below provides heat-activated frizz fighting, smoothing, and heat protection all in one. Smoothing products will help cut down on frizz during diffusing and in the days following.

3. Layer products to avoid crunch

The third area of concern is crunchy curls. Nobody wants crispy curls that look like they’re two steps from total disintegration. The first hack in preventing curl crunch is to layer your products properly and ensure that you have some sort of leave-in (at minimum”> between your curls and your curl definer. The next way to knock out crunchy curls is to scrunch them with an oil of choice — like argan, emu, avocado, or Jamaican black castor oil. Take a dime or nickel sized amount, rub it between your palms and scrunch it throughout your hair gently to remove the crunch (aka gel cast”> without causing frizz.

4. Avoid heat damage

APRILSKIN Pink Aloe Facial Polish Cleanser
Amazon
APRILSKIN Pink Aloe Facial Polish Cleanser
SHOP NOW
Top Product.
Briogeo Style + Treat™ Dry Shampoo Puff
Briogeo
Briogeo Style + Treat™ Dry Shampoo Puff
SHOP NOW
Holler & Glow 12 Days of Self Care 12 Piece Masking Set
Target
Holler & Glow 12 Days of Self Care 12 Piece Masking Set
SHOP NOW
Lanolips Day & Night Lip Minis
Lanolips
Lanolips Day & Night Lip Minis
SHOP NOW
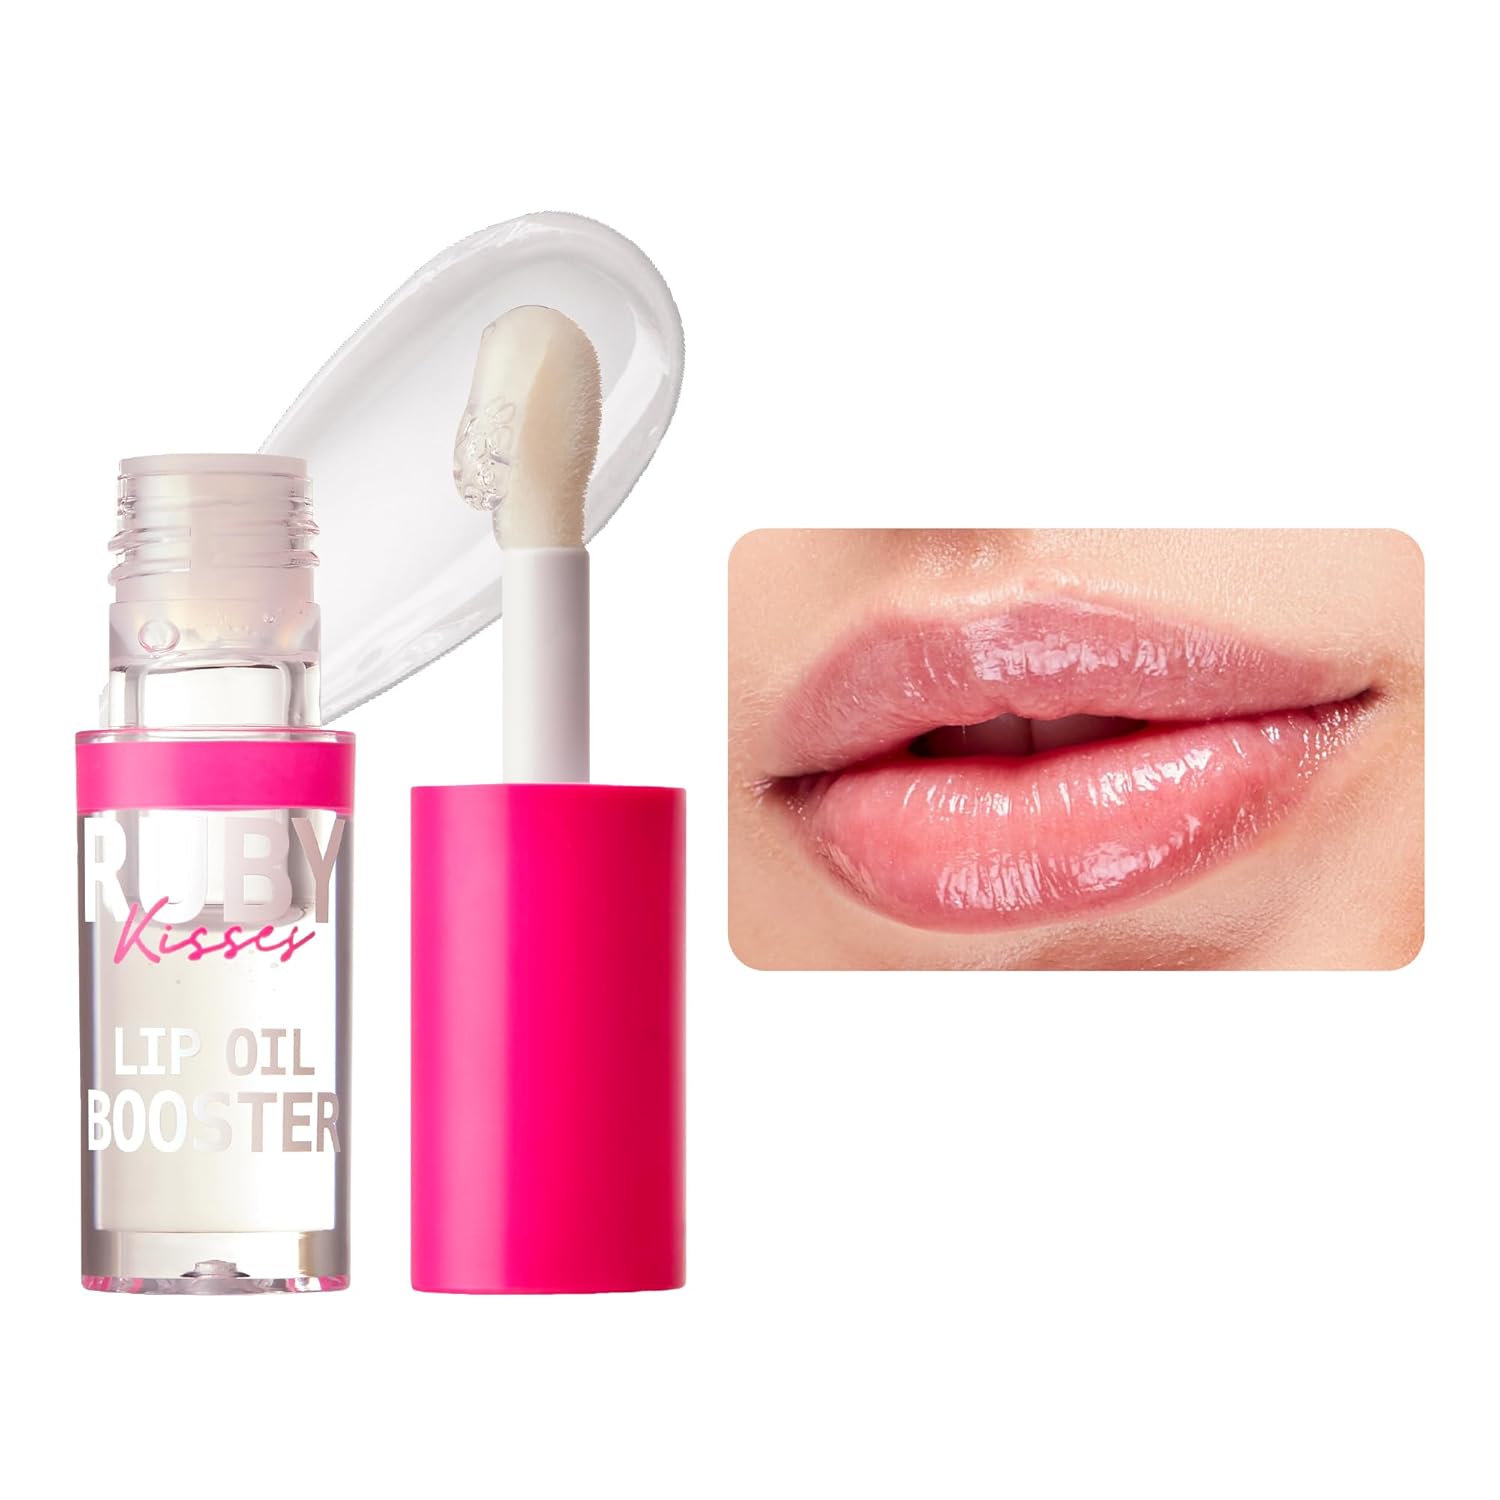
Ruby Kisses Lip Oil Booster
Amazon
Ruby Kisses Lip Oil Booster
SHOP NOW
Melanie Mills Hollywood Gleam Body Radiance
Amazon
Melanie Mills Hollywood Gleam Body Radiance
SHOP NOW
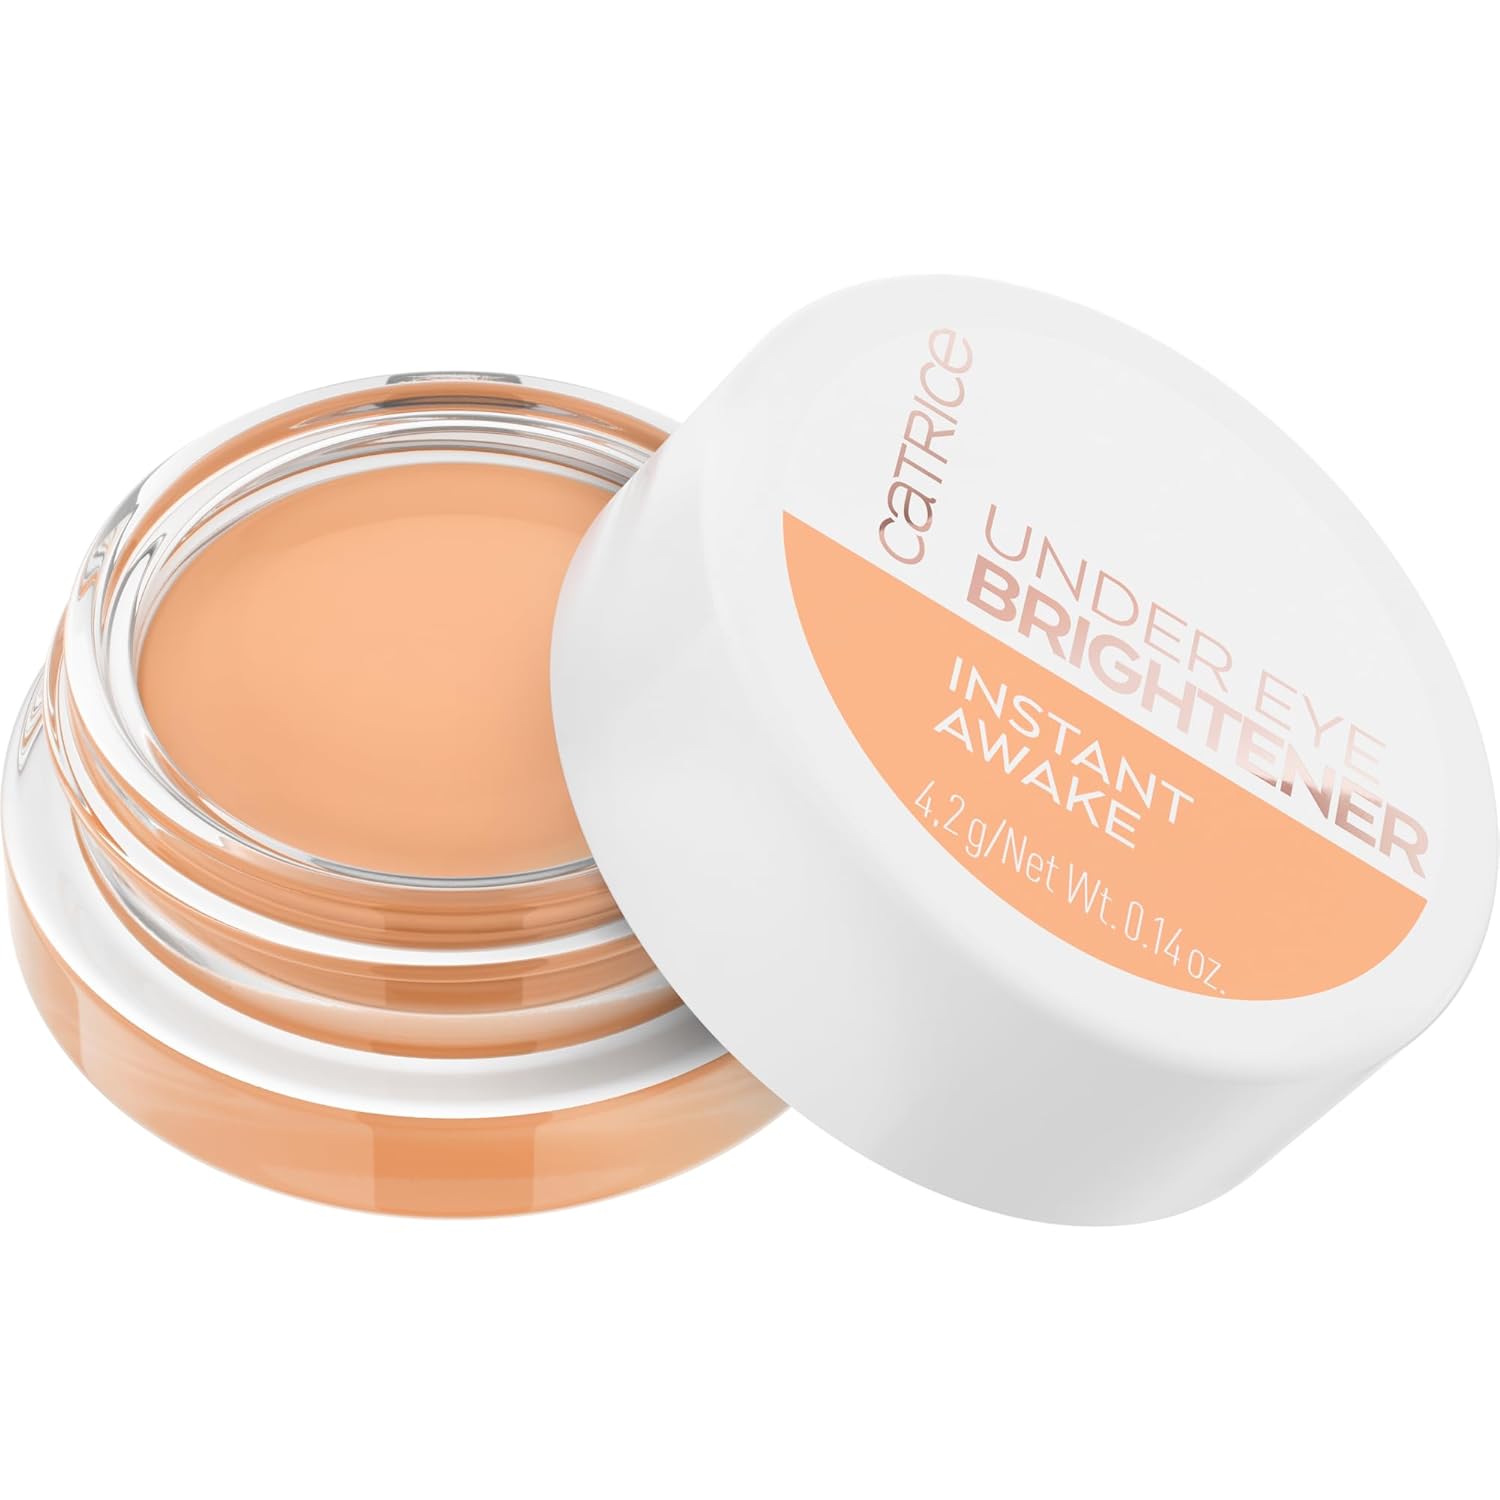
Catrice Under Eye Brightener
Amazon
Catrice Under Eye Brightener
SHOP NOW
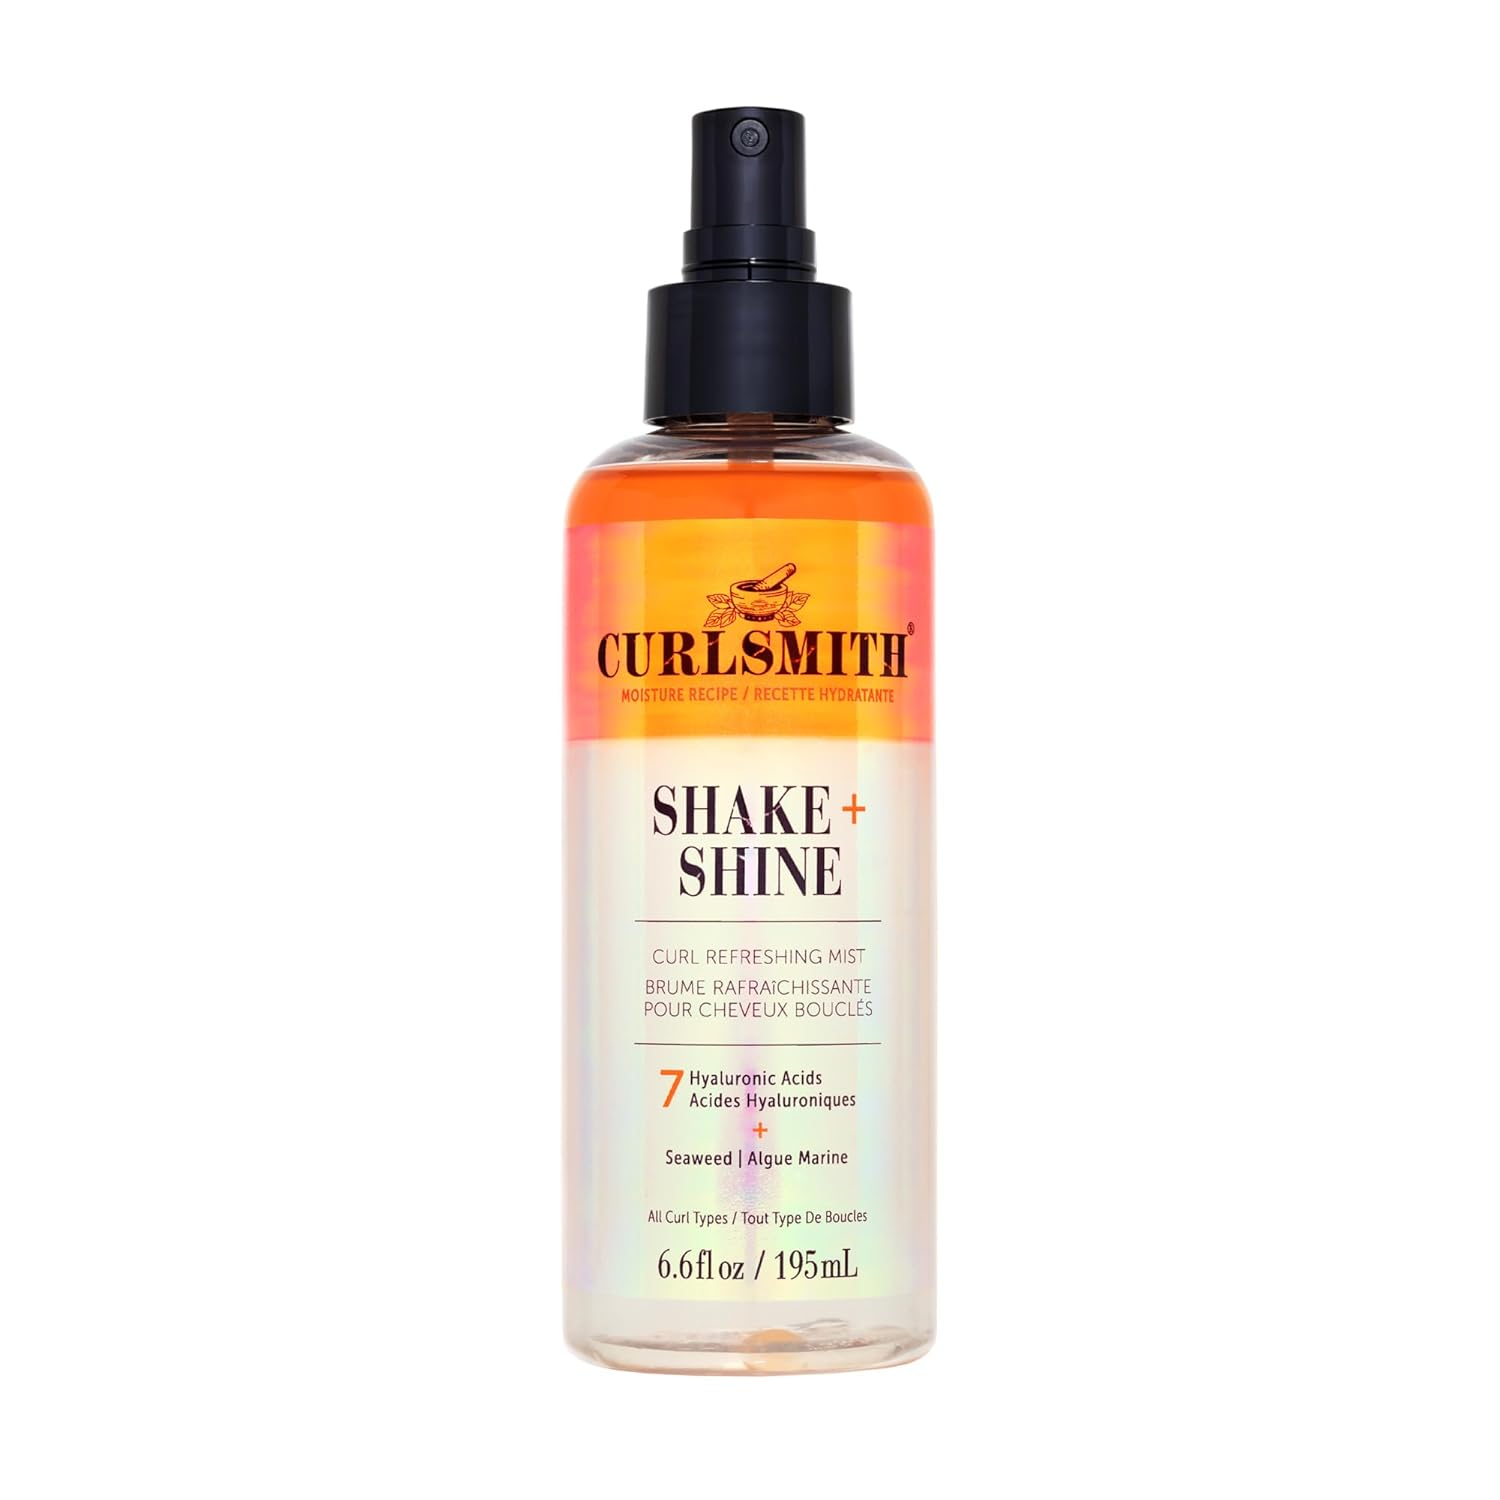
Curlsmith  Shake + Shine
Amazon
Curlsmith Shake + Shine
SHOP NOW

Lastly, let’s address the concern that lies in these two dreaded words: heat damage. Honestly, I’m unaware of anyone having ever suffered heat damage at the hand of the diffuser. If anything, diffusers help prevent heat damage via blow dryer, by diffusing the warm air around the curls, as opposed to directly on them. But even if you’re in the overly cautious camp, there are three simple hacks that you can use to safeguard against heat damage.

  1. One, keep your blow dryer temperature on cool, low, or medium heat.
  2. Two, keep the diffuser moving. Don’t sit it on any one section of your hair for too long. I like to move from section to section within 10 seconds or less.
  3. And three, use a heat protection balm, serum, or spray to shield your tresses.
[prodmod]

I hope you all found these hacks helpful. I know in the video, I don’t have the massive, voluminous curls that some YouTubers do, but that’s because I want this wash and go to last a good 3-4 days. Remember, the less manipulation you do on day 1, the longer the style will hold.

Thank you for watching! Be sure to keep up with me on Instagram, Facebook, and Pinterest and don’t forget to like, comment, subscribe & share this video with a curlfriend!
Read More

How Donni Davy Built Half Magic By Following Her Intuition
Beauty
How Donni Davy Built Half Magic By Following Her Intuition
Our Favorite Beauty Looks From The 2025 ESSENCE Black Women in Hollywood Awards
Beauty
Our Favorite Beauty Looks From The 2025 ESSENCE Black Women ...
Ask A Stylist: Color Combos To Try During Your Winter Arc
Curly
Ask A Stylist: Color Combos To Try During Your Winter Arc
How Growing Up as a Black Man Shaped My Relationship with My Curls
Curly
How Growing Up as a Black Man Shaped My Relationship with My...
Why Deep Conditioning is A Must This Winter
Shop
Why Deep Conditioning is A Must This Winter
Home • Curl Products

Mousse 101: Who Should Use It, and Who Shouldn’t

What do you think of when you hear the word "mousse?"
Share this Article
Getting your Trinity Audio player ready...
Mousse 101: Who Should Use It, and Who Shouldn’t
By Cristina Cleveland · Updated December 19, 2024

Let’s play a game. What do you think of when you hear the word “mousse?” If you’re anything like me, it may bring up associations with crunchy curls, the 80s, and drying alcohols, but you should know that things have changed. Hairstyles, techniques, brands, and product formulas have all evolved since the days of teased, crispy curls. But because we still get flashbacks when we pick up a bottle of mousse, we spoke with a few curly hair experts about when to use mousse, who should be using mousse today – and who shouldn’t. 

Why use a mousse?

Brooke Michie, curl stylist and owner of Lyric Salon in Austin, Texas, first made me reconsider mousse when she used it in Grace’s wavy hair transformation. She loves using mousse on her curly haired clients because it’s “easy to apply, economical per use, has buildable coverage and hold, and can be layered with so many other types of products.”

What hairstyles is mousse best for?

View this post on Instagram

A post shared by Maya Smith and Brian Smith (@ouidoux)

Image Source: @ouidoux

Maya Smith, International Master of Natural Curls and founder of The Doux®, a haircare line she created specifically for naturally curly hair, says mousse can be used for “any style that requires definition and light hold. It can be used not only to set wash & go’s, but for twist outs and rod sets as well.”

As I’ve been starting to experiment with mousse more, I’ve wondered if I can use it on my dry hair as a refresher on second-day hair. According to Maya, “Mousse is best applied to wet hair for Wash & Go styling, but it can also be used to set a dry twist-out and to redefine the curl pattern. I wouldn’t recommend using it to replenish moisture on next-day hair.” 

What causes that crunch?

Mousse 101: Who Should Use It, and Who Shouldn’t

Maya says, “It’s common for mousse to be combined with gel or cream because most mousse on the market contain alcohol to make the hair dry faster. They are also polymer-rich, which creates a sticky coating on the hair, much like a hairspray. This can leave hair feeling dry and stiff. We formulated our Mousse Def as an all-in-one solution for this problem. It creates the shine and definition of a mousse, yet leaves hair soft and touchable with no flaking.”

View this post on Instagram

A post shared by T H E D O U X (@ilovethedoux)

What are some ingredients to watch out for?

Maya recommends watching out for ingredients such as sodium laurel sulfate (SLS, Isopropyl, and Prolyene, which “have been found to cause breakage and dry out your hair). The best way to achieve healthy hair is to have that balance between protein and moisture.”

Who should use mousse?

Article continues after video.
Watch on TikTok
Image Source: @nehachudaryy

Brooke says it depends on the mousse, “lightweight, airy mousse or foam is great for wavy hair. Denser mousse is great for 2s and 3s and as a thin layer of added hold for more definition over a moisture foundation for well-hydrated 4s even!” For Maya, it depends on the hairstyle: “I recommend mousse for hair up to Type 4B, depending on the desired results.”

Article continues after video.
https://www.tiktok.com/@therachelhodge/video/7415783715244100906?is_from_webapp=1&sender_device=pc&web_id=7319876376193680927
Image Source: @therachelhodge
Article continues after video.

But before you rule mousse out for your Type 4C coils, Gerilyn Hayes, NaturallyCurly Senior Copywriter, loves using mousse on her 4C wash and go (like Camille Rose Spiked Honey Mousse). “I use about 5-6 pumps of mousse in my hair after shampooing and conditioning. I do this because I want to make sure that I’m starting with a clean scalp and curls that are free from any other previous products. And because my curls are very coarse and need lots of hydration, I make sure that my curls are soaked with water (which is why the shower is great for applying mousse to my hair).

Mousse 101: Who Should Use It, and Who Shouldn’t

To avoid product and water getting into my eyes, I flip my head over and scrunch my curls’ ends to my scalp. Although I do not have a lot of length, I still use this ends-to-root scrunching method to get the optimal curl definition. Sometimes I rake the mousse through my curls and then wrap them in a scarf, giving them more shine. Although rake versus scrunching may look similar to any onlooker, the textural differences are apparent to me!” 

Who shouldn’t use mousse? 

“Curls with moisture as the number one priority,” says Brooke, “or those who don’t need a product with general hold, but seek more of a product/product combo to hydrate than seal.” So if your curls are thirsty and your top priority is moisture, then you may want to opt for something like the LOC Method, which layers a leave-in for moisture, an oil to seal in the moisture, and then a cream for hold.

When to use mousse

Mousse 101: Who Should Use It, and Who Shouldn’t

Brooke prefers “the lightest weight mousse (she loves Bread Beauty Supply Hair Foam) in wavy hair for primary, general hold,” and this is how she recommends applying it:

  1. On freshly rinsed detangled hair in the shower, glaze a small amount over the surface area of the hair.
  2. Then flip and glaze another small amount over the underneath surface area.
  3. Then, apply the majority of it via scrunching and distribute it in your palms, making sure not to flatten the airiness of the foam.
  4. Before scrunching the ends of the hair up toward the scalp with a flat palm into a clenched fist motion, rotating your head to reach curls on either side.
APRILSKIN Pink Aloe Facial Polish Cleanser
Amazon
APRILSKIN Pink Aloe Facial Polish Cleanser
SHOP NOW
Top Product.
Briogeo Style + Treat™ Dry Shampoo Puff
Briogeo
Briogeo Style + Treat™ Dry Shampoo Puff
SHOP NOW
Holler & Glow 12 Days of Self Care 12 Piece Masking Set
Target
Holler & Glow 12 Days of Self Care 12 Piece Masking Set
SHOP NOW
Lanolips Day & Night Lip Minis
Lanolips
Lanolips Day & Night Lip Minis
SHOP NOW
Ruby Kisses Lip Oil Booster
Amazon
Ruby Kisses Lip Oil Booster
SHOP NOW
Melanie Mills Hollywood Gleam Body Radiance
Amazon
Melanie Mills Hollywood Gleam Body Radiance
SHOP NOW
Catrice Under Eye Brightener
Amazon
Catrice Under Eye Brightener
SHOP NOW
Curlsmith  Shake + Shine
Amazon
Curlsmith Shake + Shine
SHOP NOW

If you’re using a denser foam and need more moisture, Brooke recommends applying it:

Article continues after video.
https://www.tiktok.com/@curlswithkeish/video/7363000653024677152?is_from_webapp=1&sender_device=pc&web_id=7319876376193680927
Image Source: @curlsbykeish
  • Once a leave-in or moisture foundation is either combed through or scrunched in sopping wet hair.
  • Then add a little denser mousse by finger combing detangled sections, or for longer curls, scrunching as above. 

“This will create a cast of hold,” says Brooke, but before you worry about the crunch, remember you need to break that cast by scrunching out the crunch. “Release the cast once hair is fully dry by touching curls gently, or scrunching once more to release the wet-looking hold that was necessary during the drying process to maximize definition.”

Interested in trying a mousse? Check out the Best of The Best Styling Products 2024 options for your curls, waves, and coils.

OUR EDITORS INDEPENDENTLY SELECT ALL PRODUCTS FEATURED ON NATURALLYCURLY. HOWEVER, WE MAY EARN AN AFFILIATE COMMISSION WHEN YOU BUY SOMETHING THROUGH OUR RETAIL LINKS.

Read More

How Donni Davy Built Half Magic By Following Her Intuition
Beauty
How Donni Davy Built Half Magic By Following Her Intuition
Our Favorite Beauty Looks From The 2025 ESSENCE Black Women in Hollywood Awards
Beauty
Our Favorite Beauty Looks From The 2025 ESSENCE Black Women ...
Ask A Stylist: Color Combos To Try During Your Winter Arc
Curly
Ask A Stylist: Color Combos To Try During Your Winter Arc
How Growing Up as a Black Man Shaped My Relationship with My Curls
Curly
How Growing Up as a Black Man Shaped My Relationship with My...
How To Achieve A Flawless Silk Press With Raw Hair
Shop
How To Achieve A Flawless Silk Press With Raw Hair
Company Information
  • Customer Service
  • Contact Us
  • Privacy Policy
  • Terms of Service
Subscribe
  • Newsletters
FOLLOW US
  • Home
  • Watch
  • 2024 Event
    • General Info
    • Presenters & Speakers
    • Tickets
    • Get in Touch
    • FAQ
  • Shop