Crochet braids or latch hook braids are the hottest trend on Instagram feeds right now; easy installation, affordable hair, low maintenance, and big results, you can’t beat that! But what happens when it is time to remove them? How do you remove them and what needs to be done to your actual hair? Well, Roshini has an extremely helpful removal tutorial that you can watch below followed by important after-care tips to ensure that your protective style does not become counterintuitive.
What You’ll Need
Scissors
Oil
Mirror
Post Extension Removal Treatment
1. Clarify
Clarify do not co-wash. When your hair has been in a protective style for 6-8 weeks or 1-3 months it is important that your scalp is thoroughly cleansed, especially if you braided the hair down with a thick styler and regularly applied oils to the scalp while the extensions were installed.
2. Deep Condition
After cleansing you will want to do a deep conditioning treatment for 15-20 min. with a plastic processing cap. This will help restore moisture that your hair did not receive with weekly washes, daily refreshers, and moisture from the air. A major issue that many women who wear protective styles experience is breakage, which is counterproductive to the purpose of protective styling.
3. Strengthen
If you regularly wear crochet braids or other extensions, your hair begins to experience points of weakness along the length of the strands due to repetitive manipulation. Too much of anything can be bad for the hair (e.g. puffs, over conditioning, product buildup”> so it is important to change your styling habits and incorporate protein treatments. If you are protein sensitive to even the lightest treatment, then consider hot oil treatments with oils full of ceramides like cottonseed oil. If the breakage persists, then it might be time for a trim.
Although your ends will not be as weathered because they were protected, it is important to remember that protective styling merely reduces split ends, it does not eliminate them so a trim might be due. Lastly, give your hair a break! And I don’t mean the ten hours of sleep before your installation appointment first thing in the morning. Like stated before, repetitive manipulation can do more harm than good to your hair.
To make the most of your protective style, it is important to care for your hair before the installation and after the removal. Most people (especially stylist”> prefer to braid the hair down after it has been blown out to expedite the process, so if you choose those means then these steps are extremely important.
In most cases, “loosening up” is a positive thing; it’s associated with relaxing, letting go, and having a good time. But when my curls decide to loosen up, it’s a whole different story.
No matter what kind of wavy, coily, or curly you are, you can probably relate: curls that start out bouncy and fresh in the morning sometimes deflate, like a tire losing air, until they’re stretched, flat, and frizzy. But why?
“Curls have a mind of their own,” says Tara Love, the founder of Tara Love Hair, a salon that caters to African-American and multicultural women. “They are very unpredictable because you never know what they will do from one day to the next.”
Gravity
“Maybe the reason why curls fall or get looser is because of gravity,” she speculates. “The hair can also be heavy, as in high-density hair with thick strands. Fine, short hairs tend to curl tighter and experience no real gravity pull.”
If your hair is thick and dense, gravity is likely to blame for your stretched curls—and it’s not easy to fight a force of nature. That being said, you can make your hair less susceptible to the effects of gravity by using lightweight products that won’t weigh you down further. “For curly styles that you want to stay in place, leave-ins and oils are needed,” Love shares.
“I love an old staple called Infusium 23,” she adds. “It’s light and controls frizz. If you need a little oil, I love Jane Carter Nourish and Shine. It’s great for hair and body. Rub a bit in the palm and apply.”
It’s also a good idea to switch out your hard-hold gel for a light cream to keep curls buoyant. CurlTalk member @oh.hi.its.steph recommends SheaMoisture Curl Milk: “I find it to be perfectly moisturizing and curl-enhancing, but not terribly heavy either!”
High-porosity curls and waves are more likely to loosen throughout the day than low-porosity curls. That’s because high-porosity hair has large gaps and holes in the cuticle, making it very easy for the hair to lose moisture; and when moisture evaporates from high-porosity hair, it renders products less effective—which results in loose, frizzy curls.
“If you’re highly porous you might be in need of protein,” says this CurlTalk commenter. A silk protein treatment can help repair the gaps in your hair cuticles to keep your curls intact.
Article continues after video.
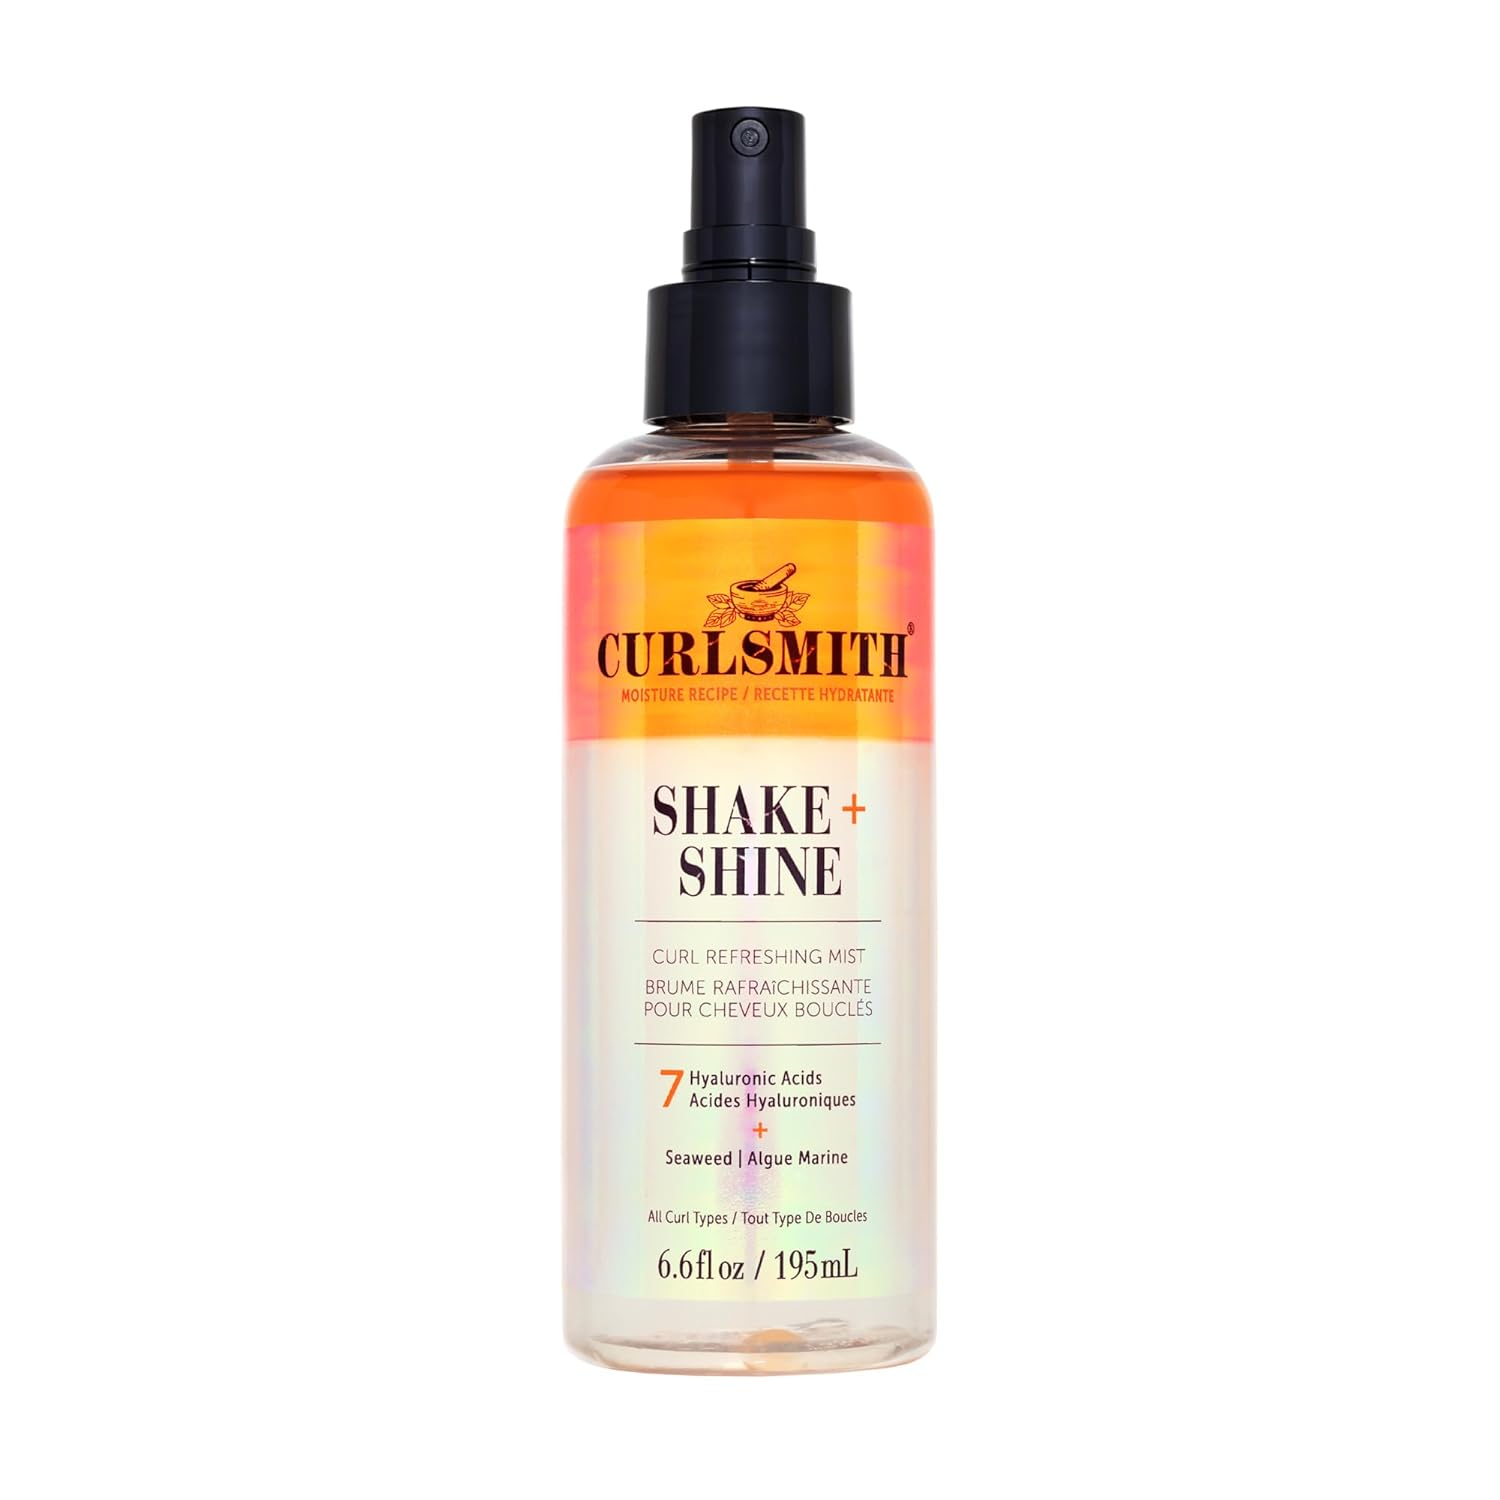
Since highly porous hair loses moisture easily, it’s essential to stock up on ultra-hydrating products, like leave-in conditioners and sealers. You can also add anti-humectants to your hair care routine, like Ouidad Climate Control Heat and Humidity Gel, to seal the cuticle and keep moisture in. At night, try a heavy hair butter treatment—Mizani Strength Fusion Intense Night-Time Treatment is a great option—to lock in hydration and prep your curls for a new day.
In one recent study, physicists studying the curvature of steel rods stumbled upon some interesting findings, namely, what makes curly hair go limp. Their conclusion? “The actual number of hairs per square inch on any individual’s scalp…that greater or lesser crowding may play a role,” according to Time Magazine. In other words, if you’ve got a lot of hair, your individual strands may just be too crowded to stay curly all day.
If this is the case for you, there are two things you can do:
One, incorporate a hard-hold gel into your routine to give you the all-day definition. After smoothing Carol’s Daughter Coco Creme Curl Shaping Cream Gel through your hair, twirl individual pieces around your finger to create a defined curl pattern and diffuse dry.
And two, accept that you’ve been blessed with thick, luscious curls—and at the end of the day, no matter how loose they are, your curls are beautiful. (At least, this is what I like to tell myself!”>
It’s important to note that even with a full morning routine of leave-ins, creams, and gels, curls sometimes need a little midday refresh. What can you do? It’s just their nature.
Ever find your curls falling flat throughout the day? What do you do to keep them springy? Get some extra help with the Best of The Best Texture Tools in 2024.
OUR EDITORS INDEPENDENTLY SELECT ALL PRODUCTS FEATURED ON NATURALLYCURLY. HOWEVER, WE MAY EARN AN AFFILIATE COMMISSION WHEN YOU BUY SOMETHING THROUGH OUR RETAIL LINKS.